Managing Agents through your Agent Directory
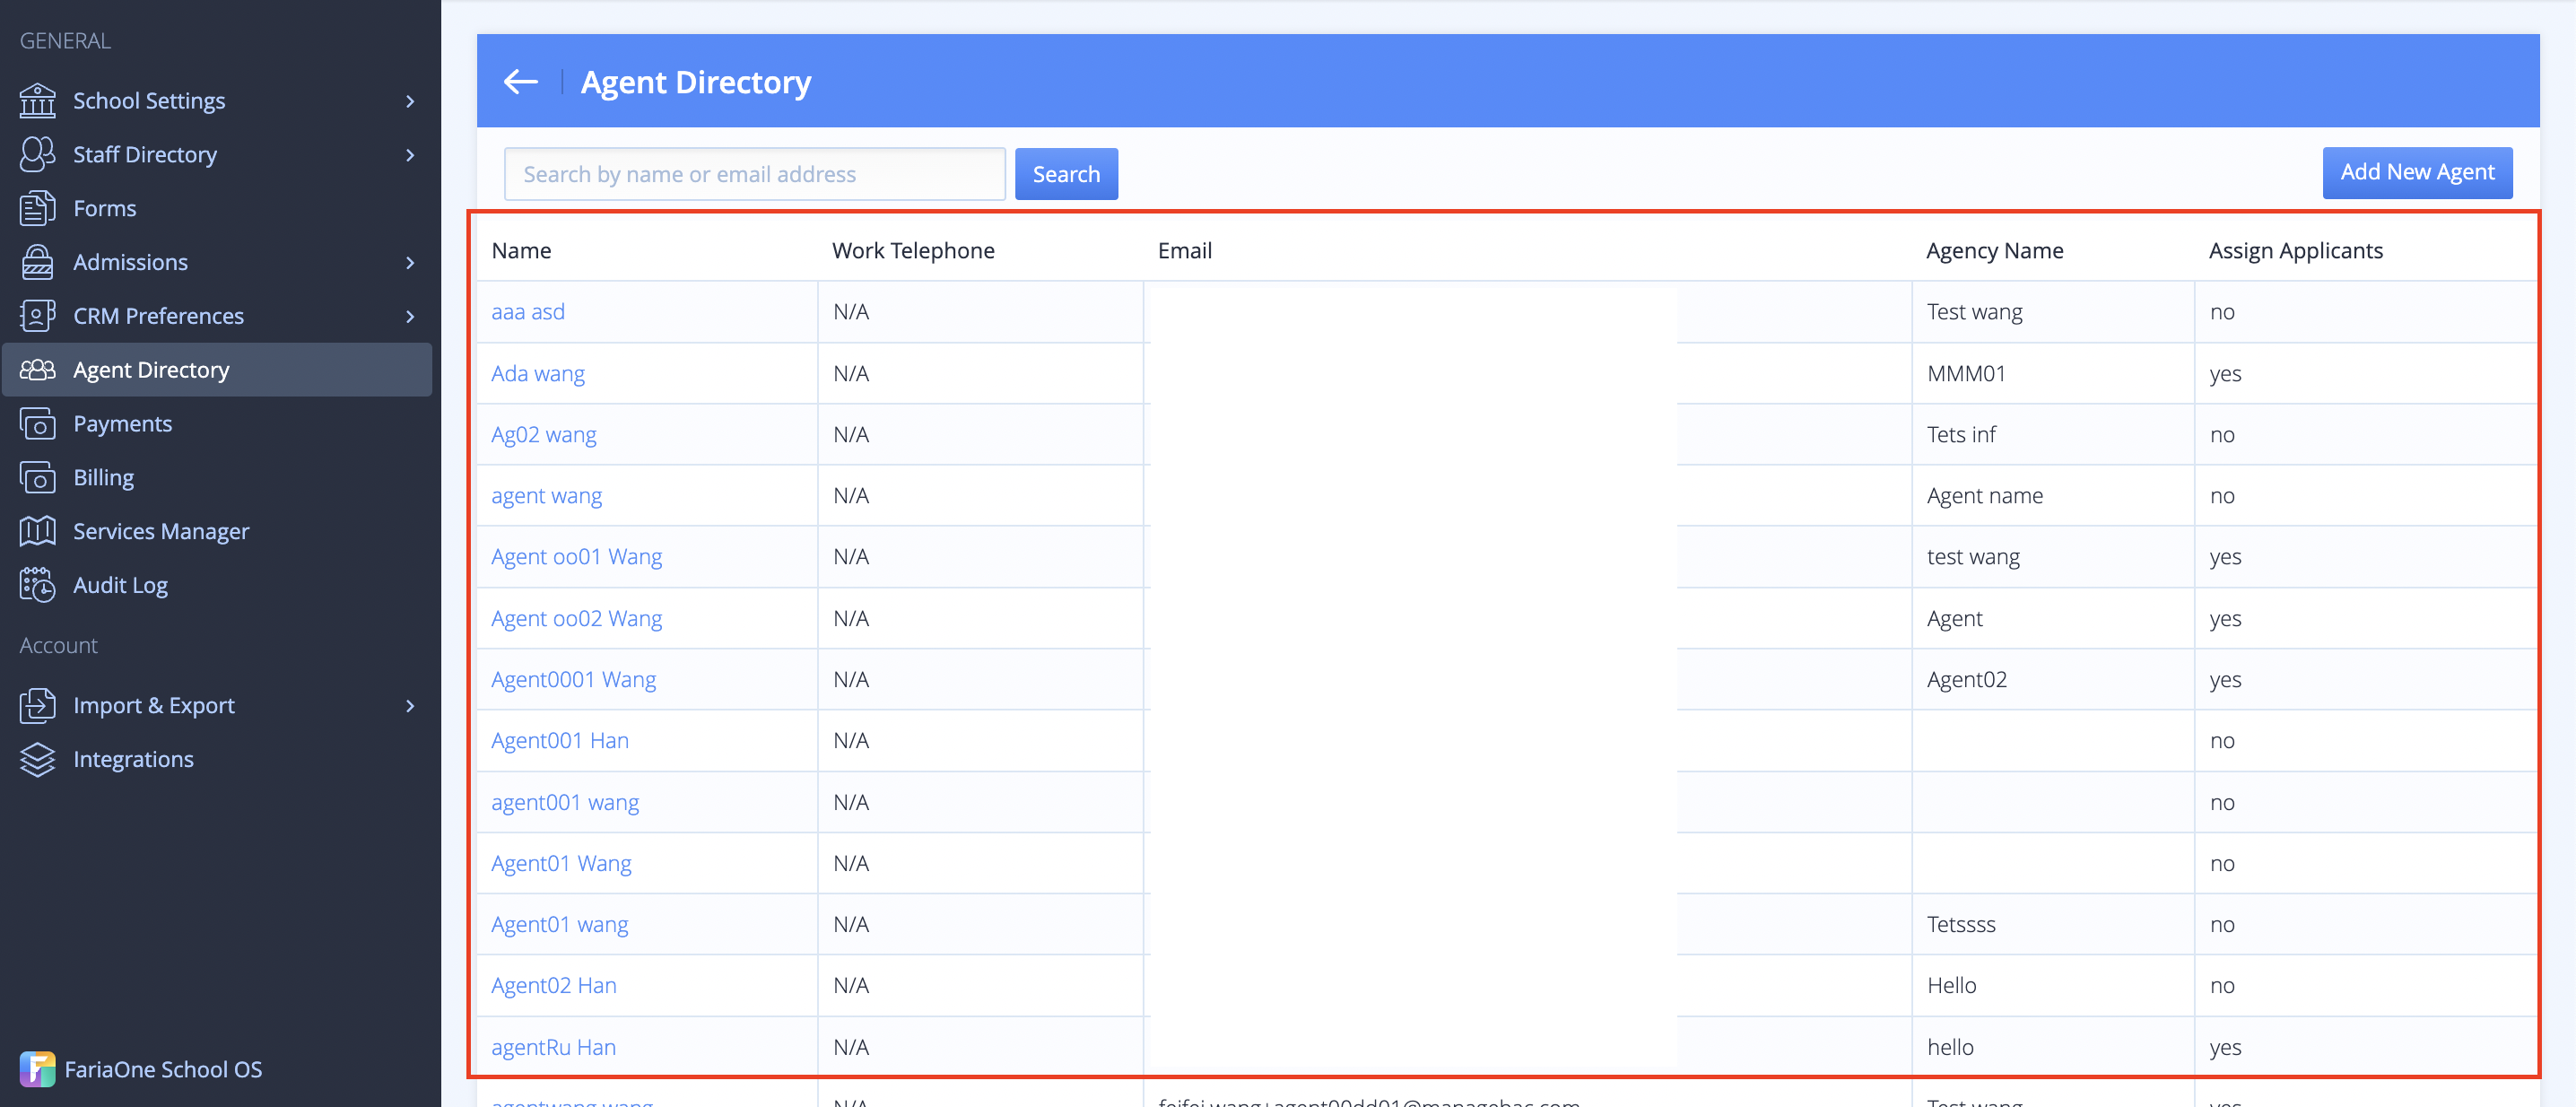
You can find agent accounts directly through the 'agent directory' setting.
To do this begin by navigating to Settings > Agent directory:

The agent roster will show you the Agent Name, Telephone number, Email address, Agency name and whether the agent has been enabled to be assigned to applicants.
Creating and Editing Agent Profiles
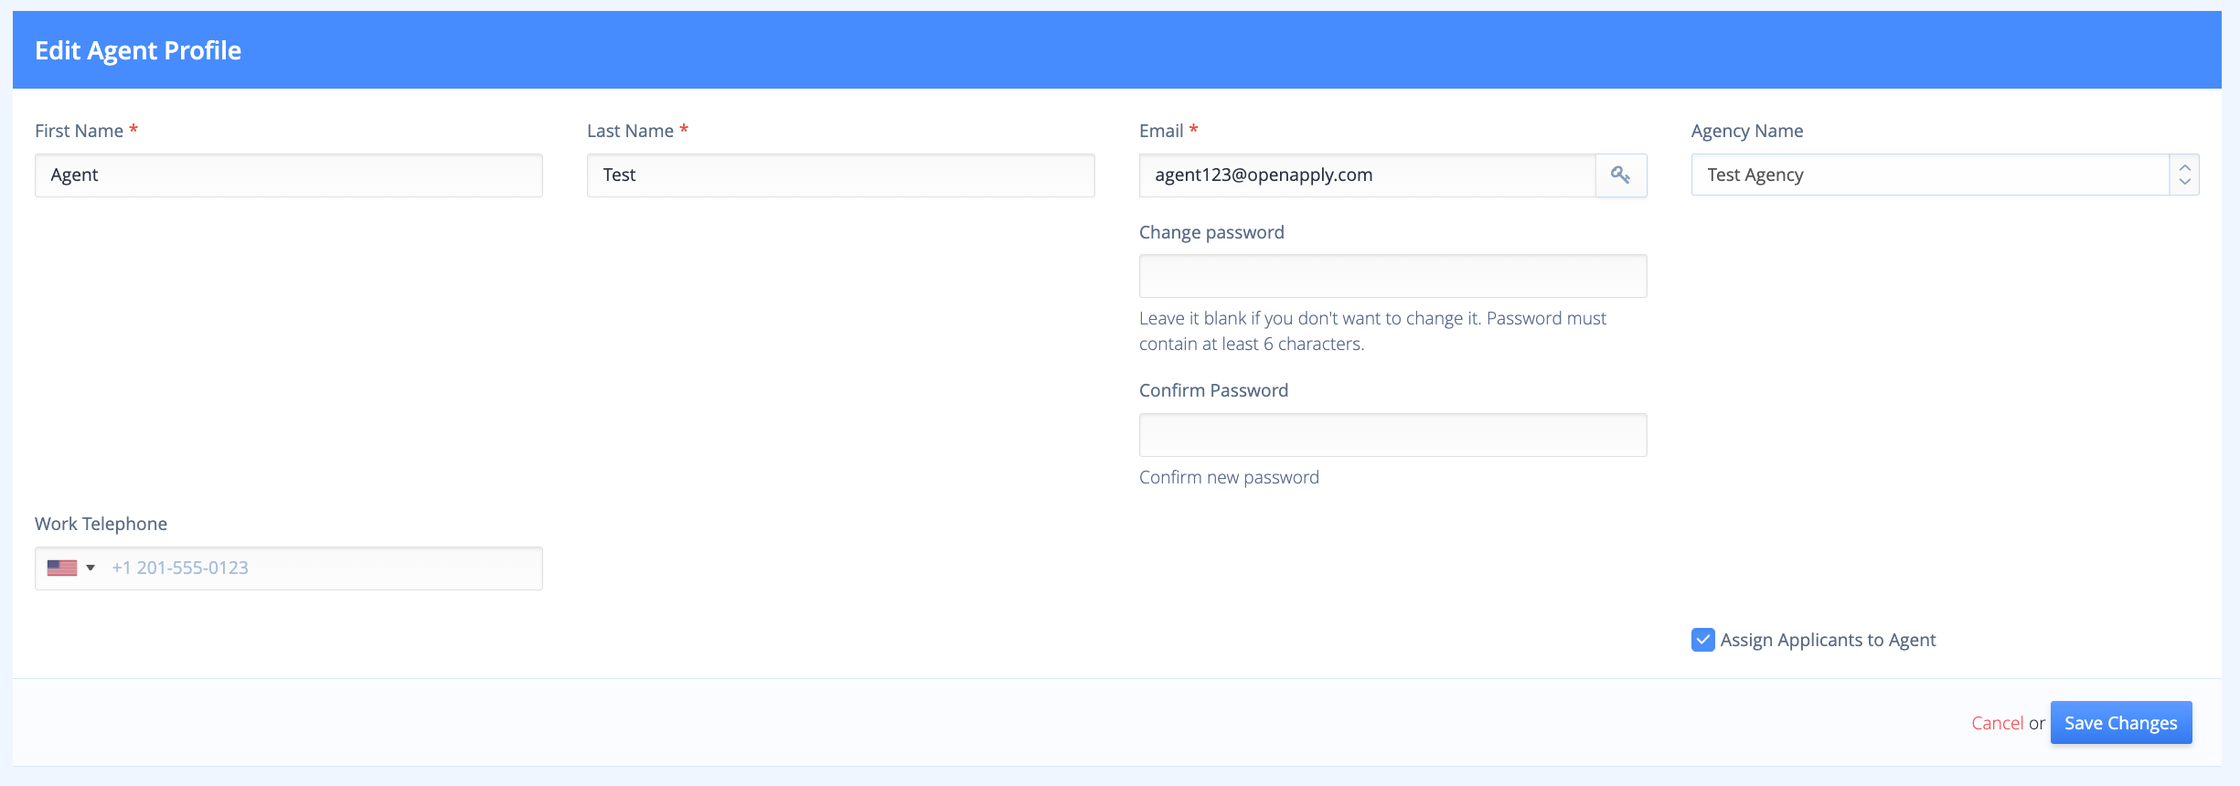
In your agent directory, you have the option to create a new agent profile, using the Agent name, and Email address.
If you would like to be able to assign the agent to students, the 'Assign Applicants to Agents' box will need to be enabled. Only enabled Agents can be assigned to students by Admin users.

You can also edit an existing agent account.
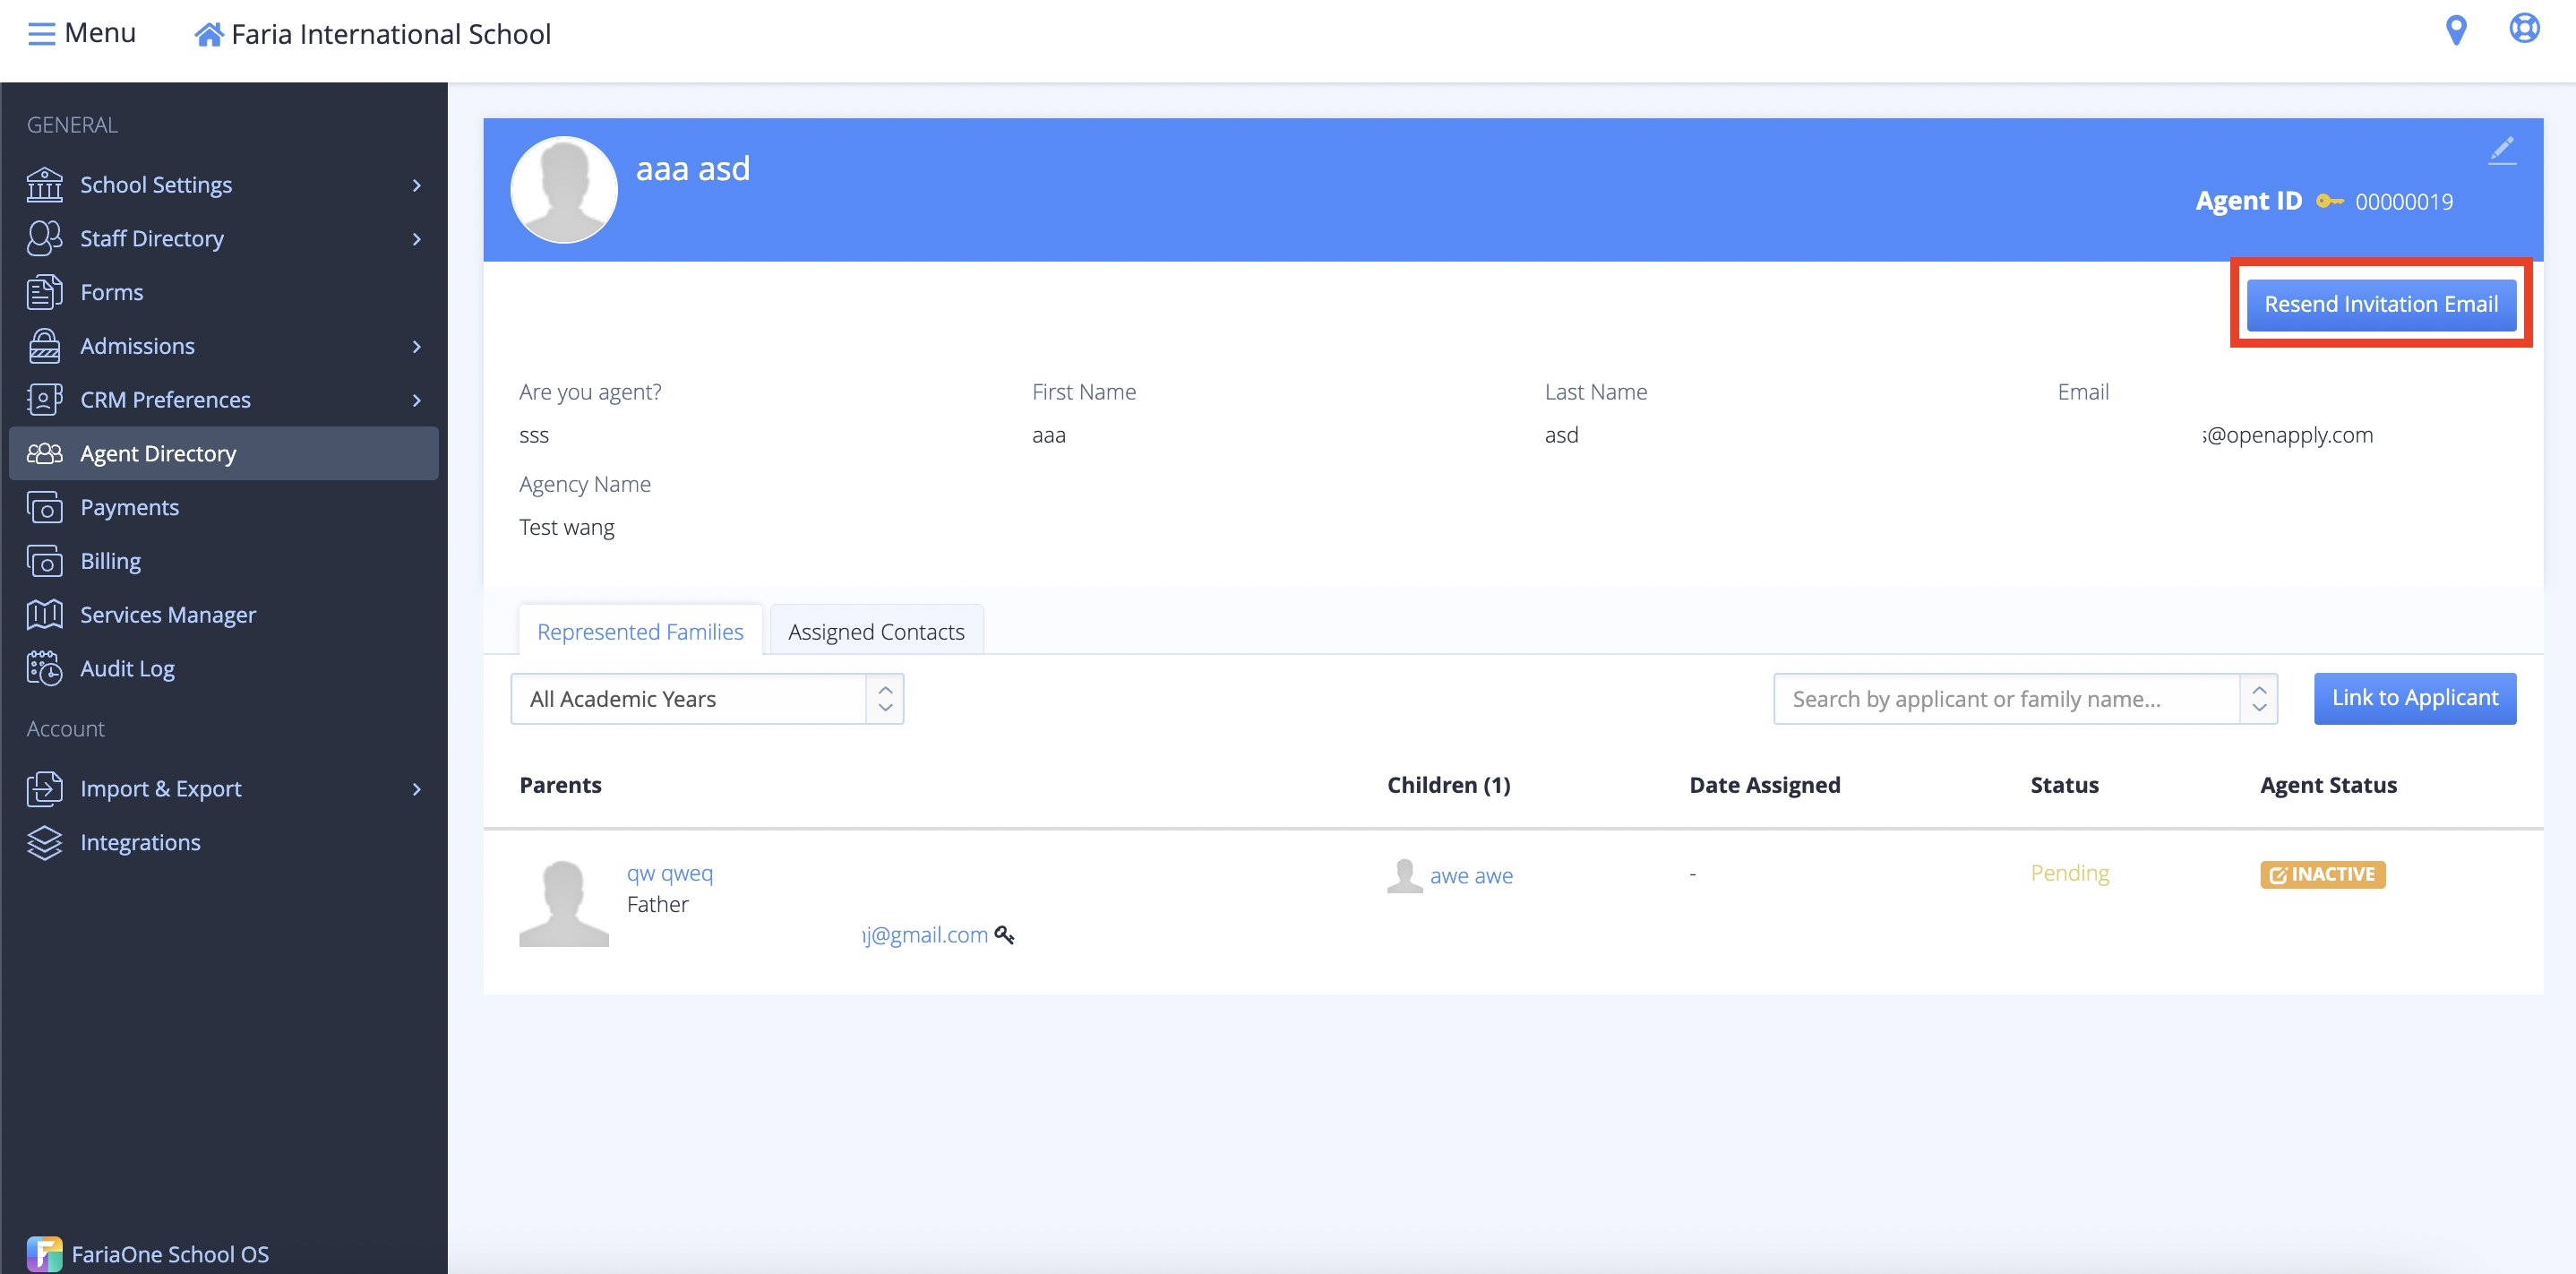
To resend an Invitation Email to an agent select the 'Resend Invitation Email' through the agent account.
Viewing Assigned Students
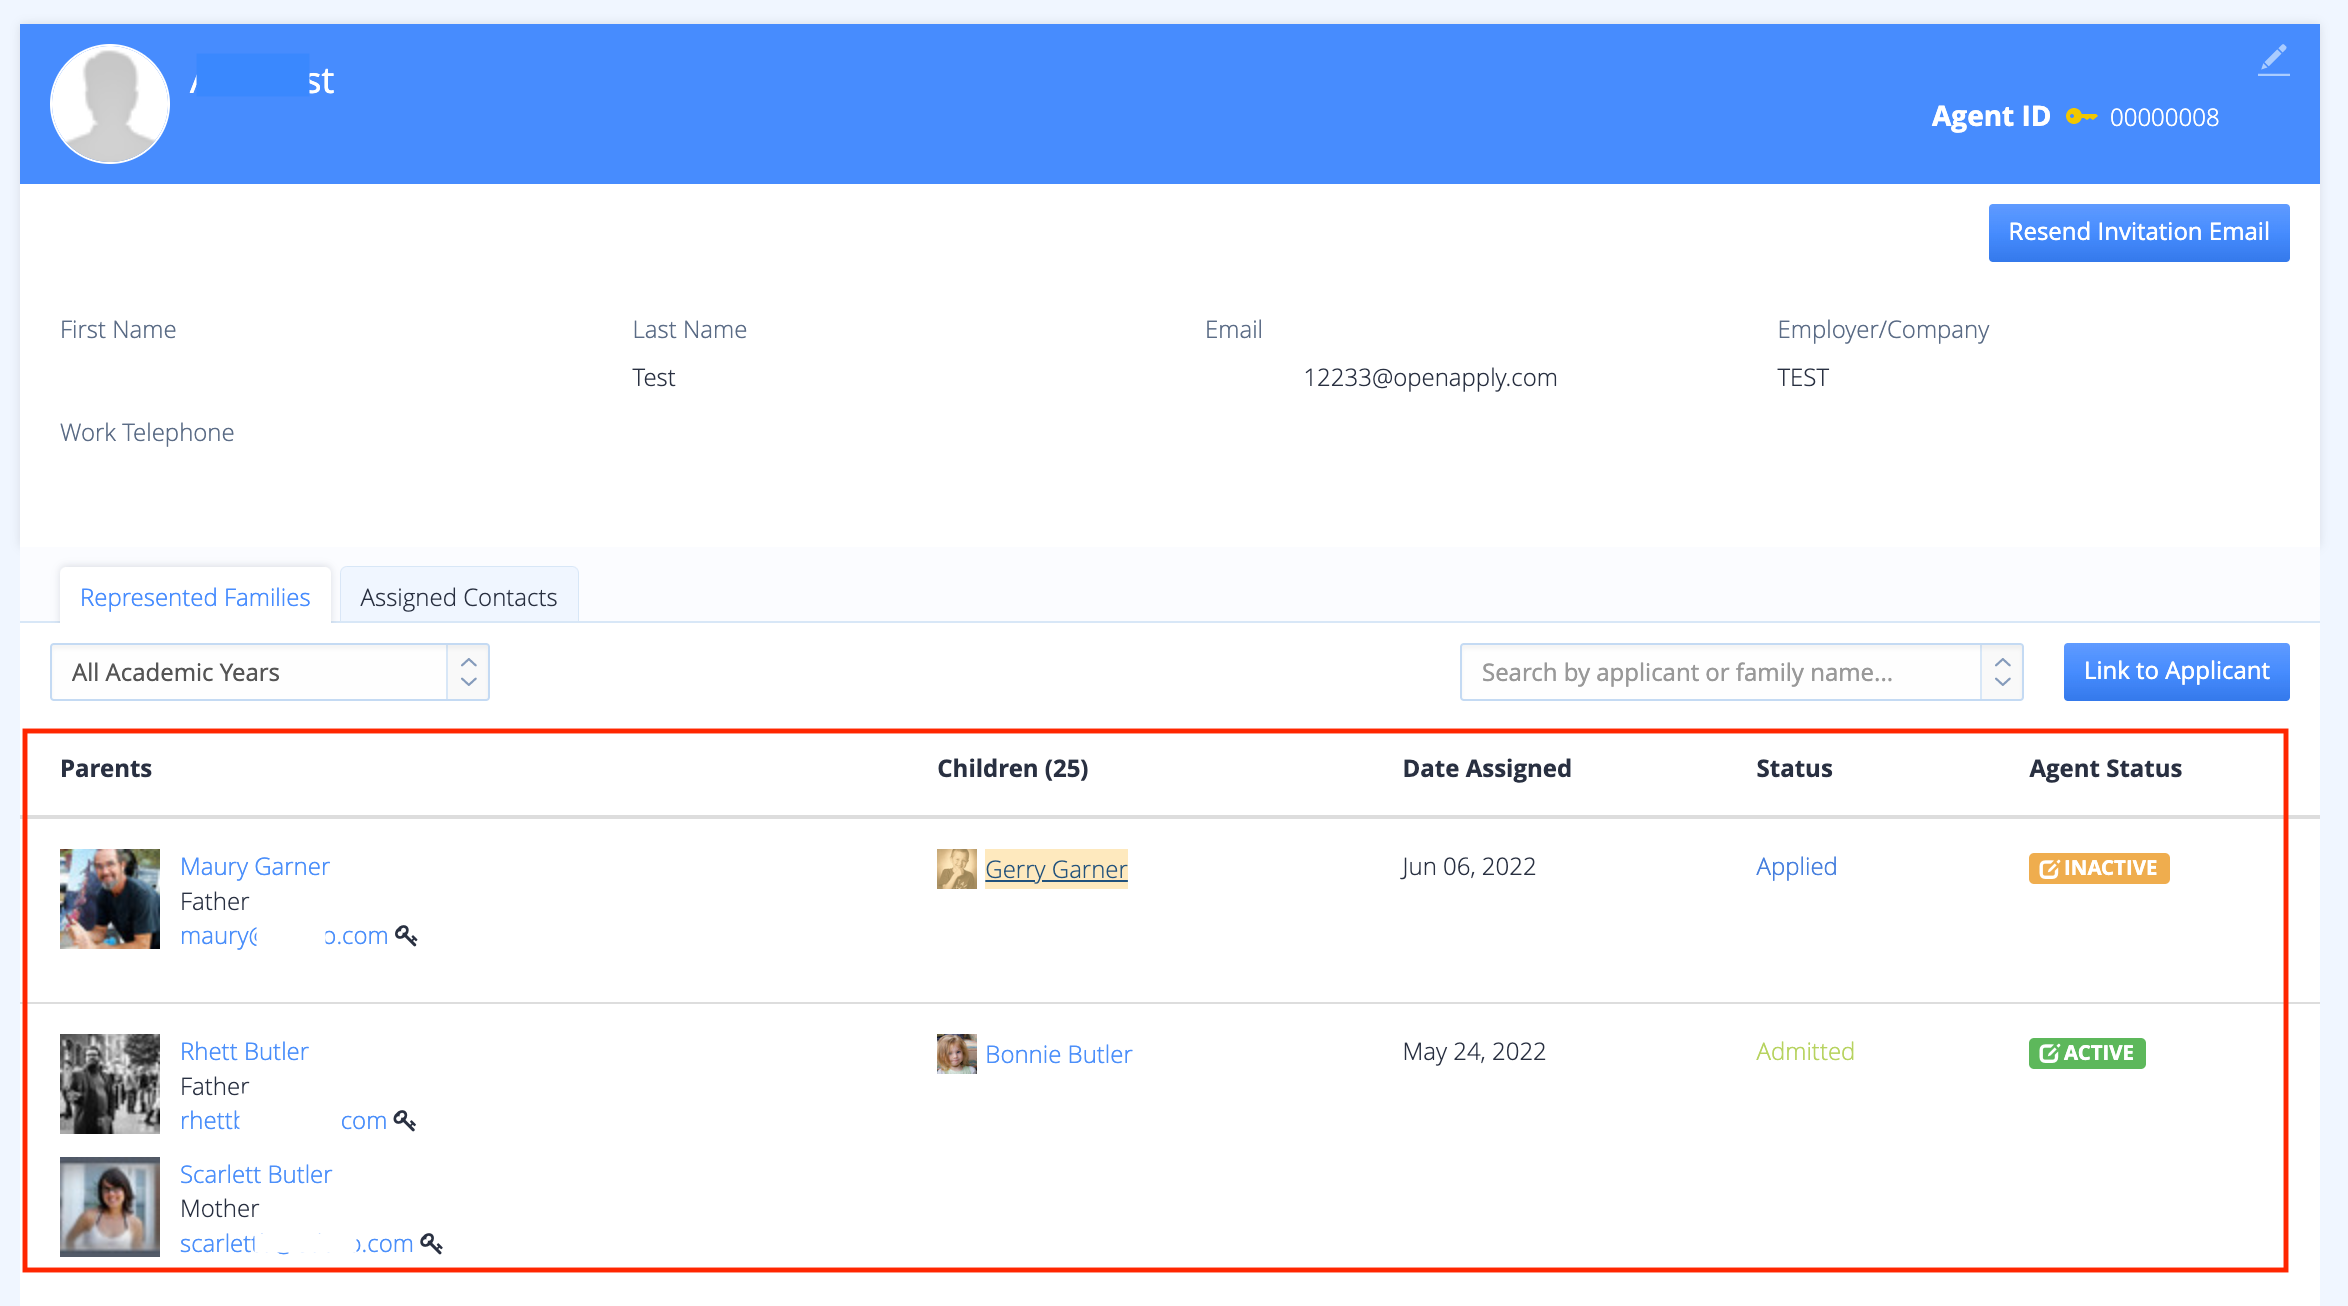
If you would like to view a list of all the currently assigned Contacts and Students to an agent you can see this on the agent account:
Assigning a Student to an Agent
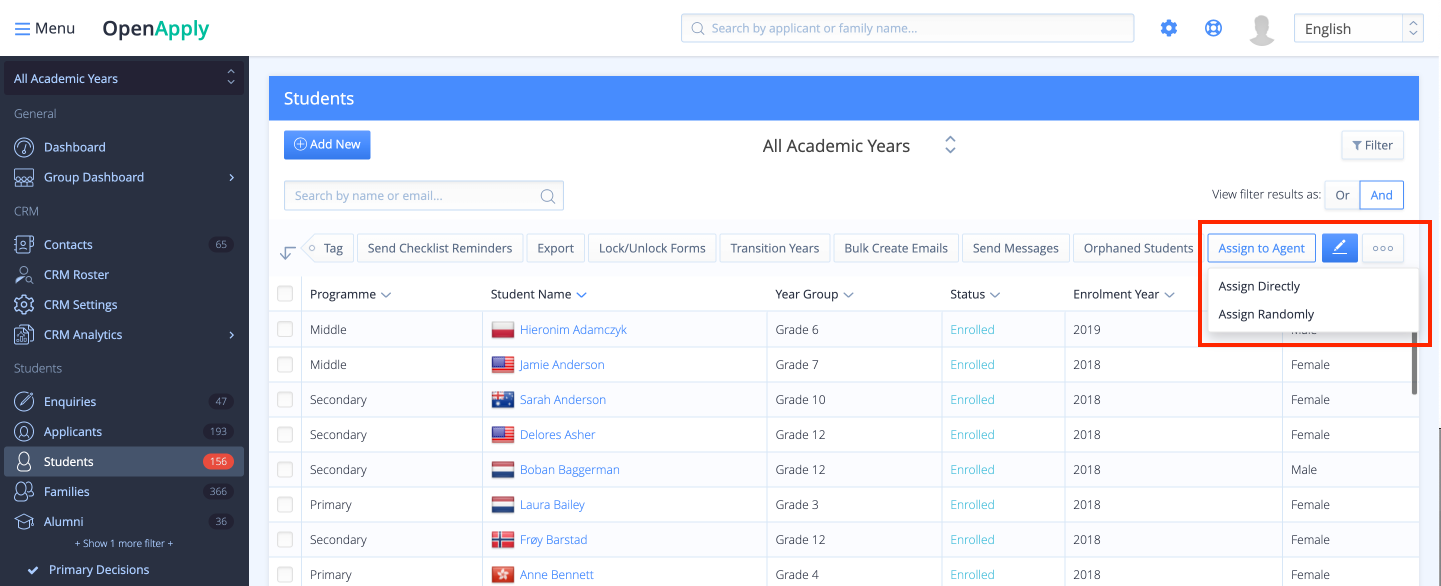
Admin users can assign Students to Agents directly in the student roster.
By selecting the 'Assign to Agent' button
There is 2 options to select from:
1. Assign directly to designated agent:
This will allow you to select the agent you would like to assign to a contact to.
Set up Permission & Access for Admin Users.
If you would like for particular users at your school to have access to the agent directory in addition to its other functions, you can enable this permission through your staff directory.
To enable this for a user, navigate to your staff directory and select the user account.
Under Settings > General & account , Contains the following three permissions settings: CRM Preferences, Agent Directory and Assign Agent:

A. CRM Preferences
All CRM-related features will be enabled and will also give staff the ability to assign Contacts to Agents. If Admin doesn't have CRM permission, they can't enter the CRM roster and assign Contact to the Agent.
B.Agent Directory
Enabling this will allow users to have permission to manage Agents (create/edit/invite etc.) while also giving them the ability to assign Students to Agents.
C. Assign Agent:
Enabling this option will allow Staff to only assign Students to Agents, but does not include the ability to manage Agents/ have access to the Agent Directory.
Agent Notifications.
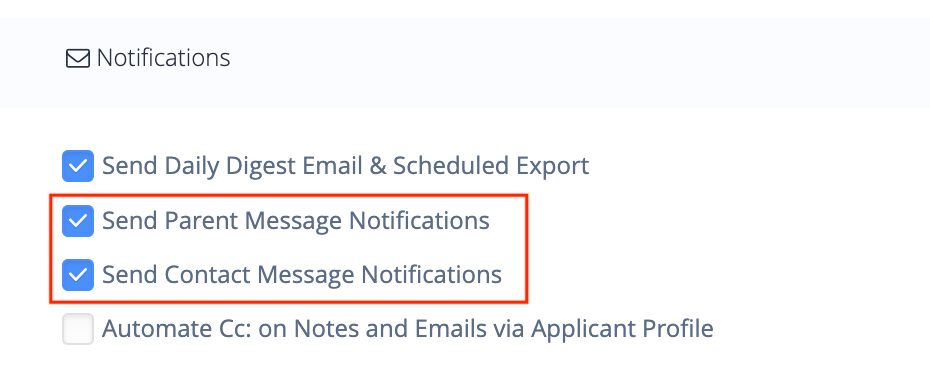
If you would like to be notified by email when the Parent (possibly an Agent instead of the Parent) sends a message in the Applicant's message box, you can enable this permission through your OpenApply account.
You can enable to be sent an email when an agent has sent message through either the contact account or student account.

It is possible for admin users to manually archive a contact if the contact has already been converted to a parent.
To do this, navigate to the contact and select 'archive contact'


