Enabling Payments
Navigate to Settings > Payments, to enable invoicing via OpenApply.
1. Select which payment methods your school accepts.
2. Choose a default payment method.
3. Provide payment instructions to applicants and families, for each enabled payment method.
OpenApply supports the following payment methods:
Cash, Check, PayPal Express Checkout, Credit Card, AliPay (via Stripe), and Bank Transfer
Information on configuring credit card payments can be found here.

Invoice Settings
At the bottom of the payment page, invoice settings can be configured.
1. Select the billing currency.
2. Enter the invoice address for the school.
3. Set the payment terms. This will be used to automatically calculate and show a 'due date' for the payment of the invoice.
4. Set an initial invoice number. Only numeric values can be used. The invoice number will increase by one, each time an invoice is generated.
5. Set a preference for When the charge fails, in case a credit card payment is unsuccessful:
Send an invoice and allow parents to pay later - form is still submitted, and parent can pay invoice later via their dashboard
Decline form submissions - form data is saved, but is not submitted if payment fails. For example, applicant remains as Pending, rather than changing to Applied, if they do not pay the application fee successfully by credit card.

Generate PDF Invoice Preview
Click Generate PDF Invoice Preview at the top to preview the invoice that will be automatically generated for families.
Once the payment settings have been configured, enable payments on a form to activate the payments.

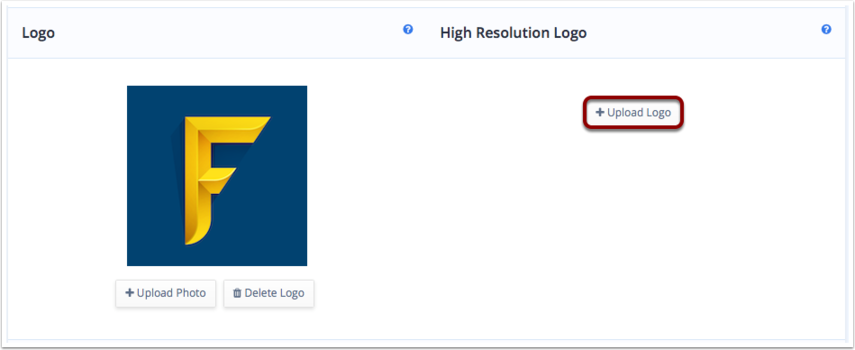
The school logo for the invoice can be uploaded under Settings > School Settings > School Information > High Resolution Logo > + Upload Logo.