Once you log into your OpenApply Account, you will be directed to the Agent Dashboard, where you can easily navigate OpenApply.
1. The Agent Information section lists your contact details
2. Click the pencil icon to edit your agent details
3. By clicking the Add New Family button, you can begin an application for an additional family
4. Search for existing families linked to your account, by searching for parent name or email
5. Click Dashboard in the top left to return to the dashboard at any time
6. Click the parent name to access that parent account. Click here for more information on navigating the parent account
7. Click the applicant name to go straight to the checklist for that applicant
8. You can view the application status of each of your applicants, at a glance
9. You can click to deactivate yourself as an agent for a particular applicant. You will then will no longer receive messages or notifications, or have account editing access for this student. The school admissions team will still be able to see that you are linked to that applicant. They can reactivate you as an agent for that applicant, if necessary.
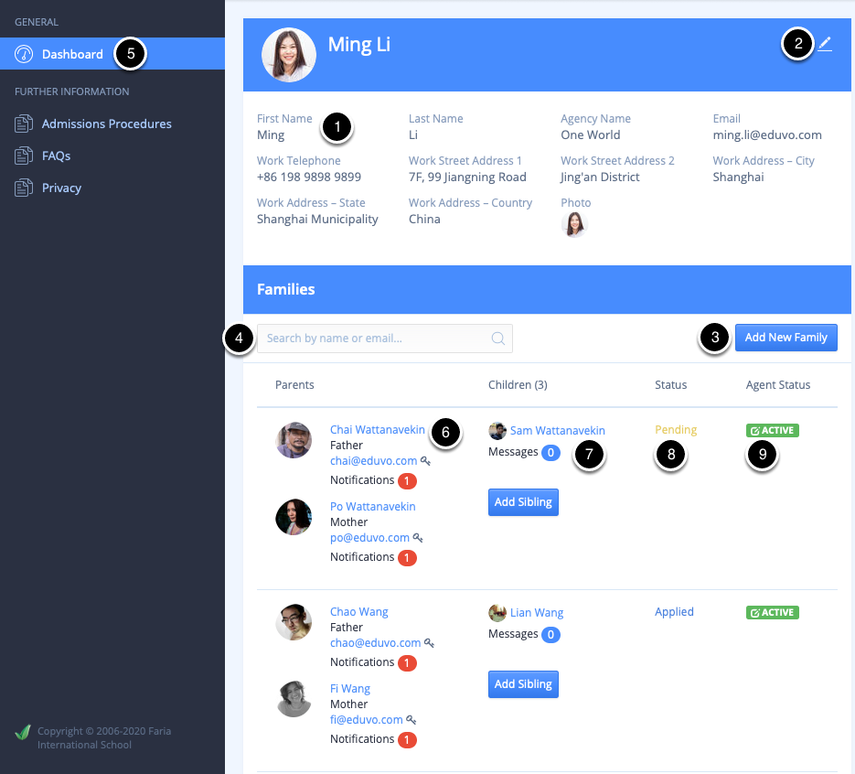
Agent Dashboard
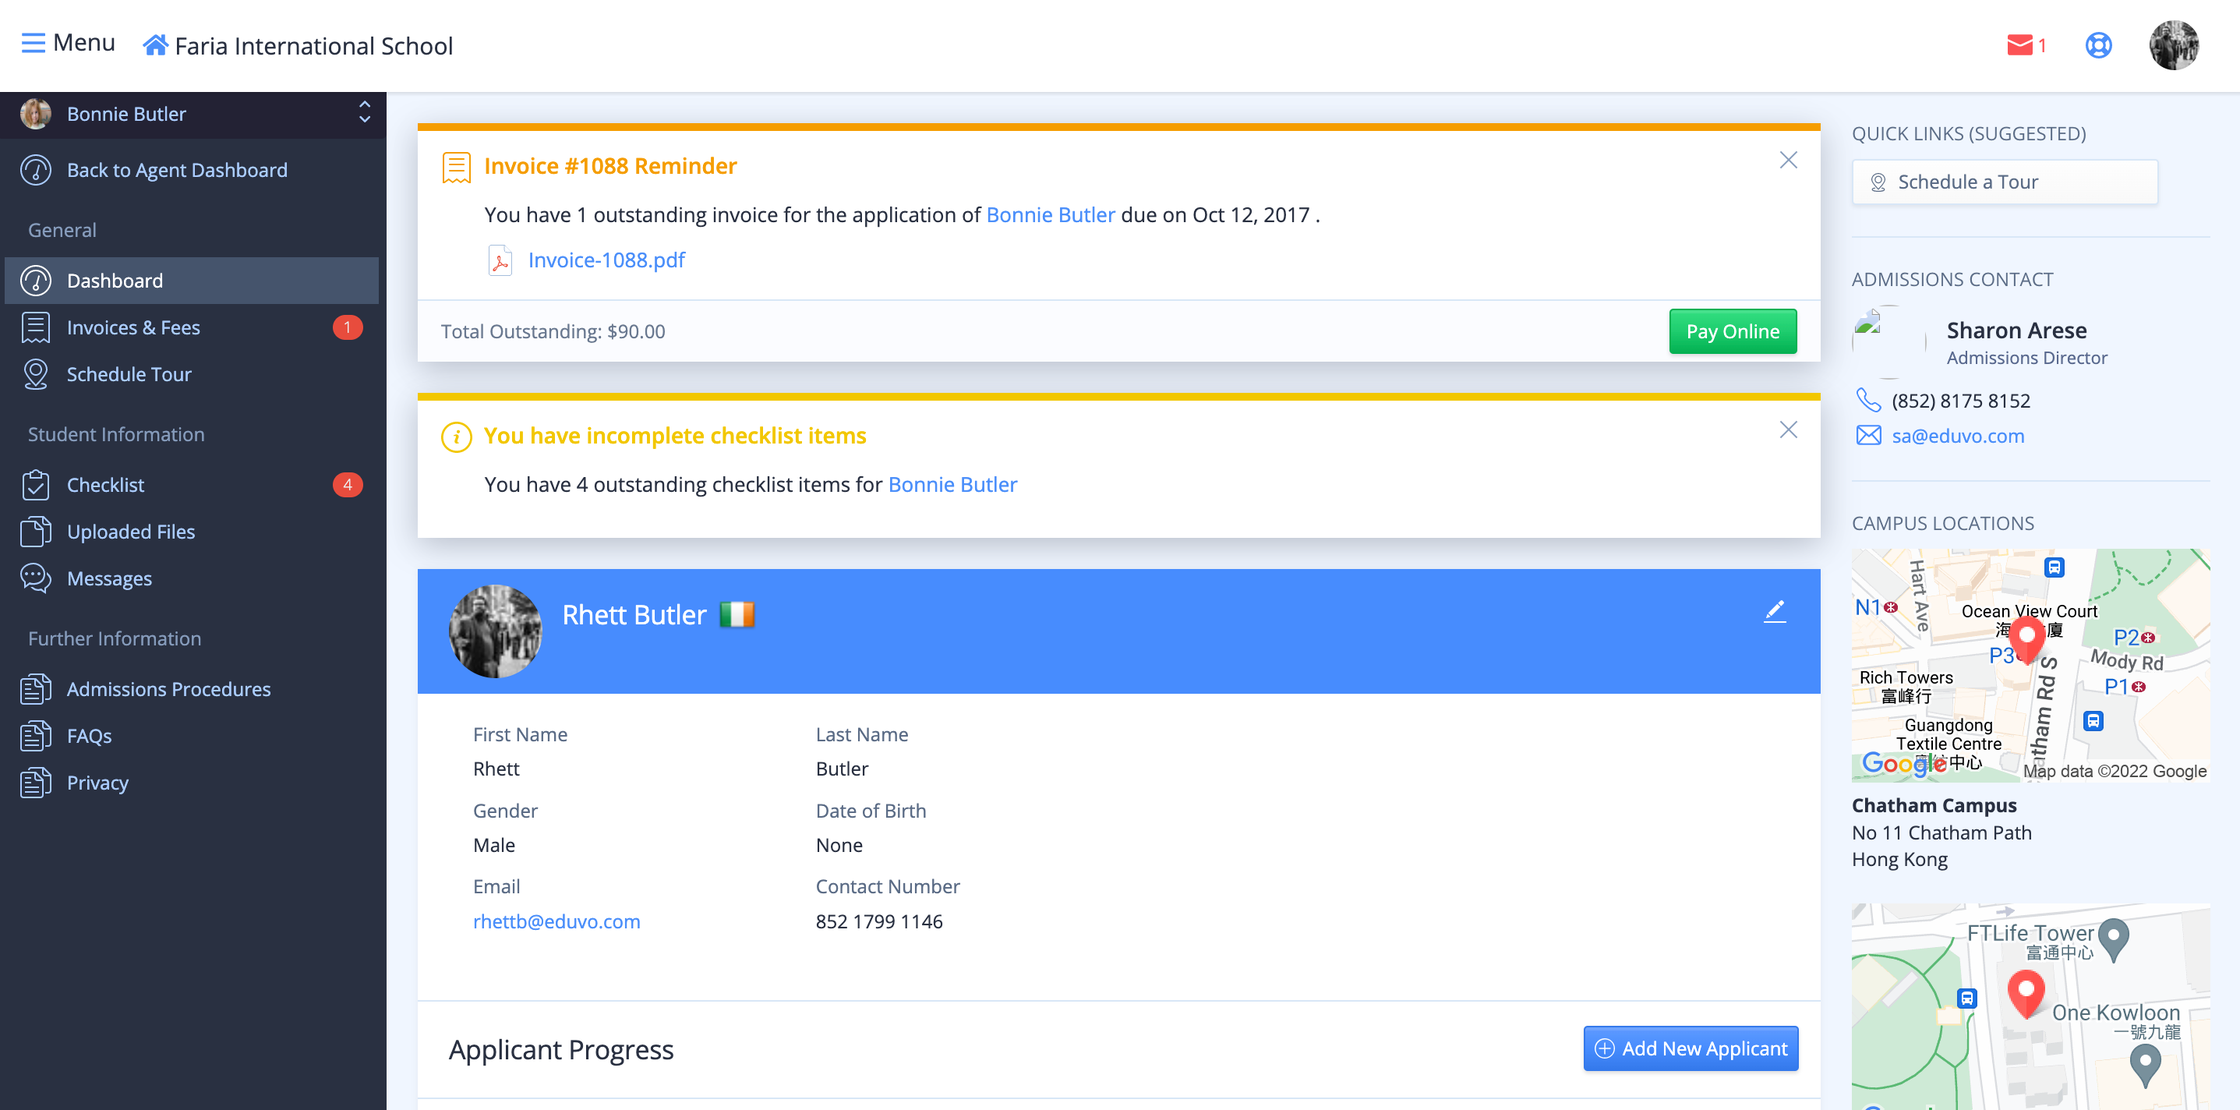
Click Back to Agent Dashboard in the top left to return to the agent dashboard from the parent account
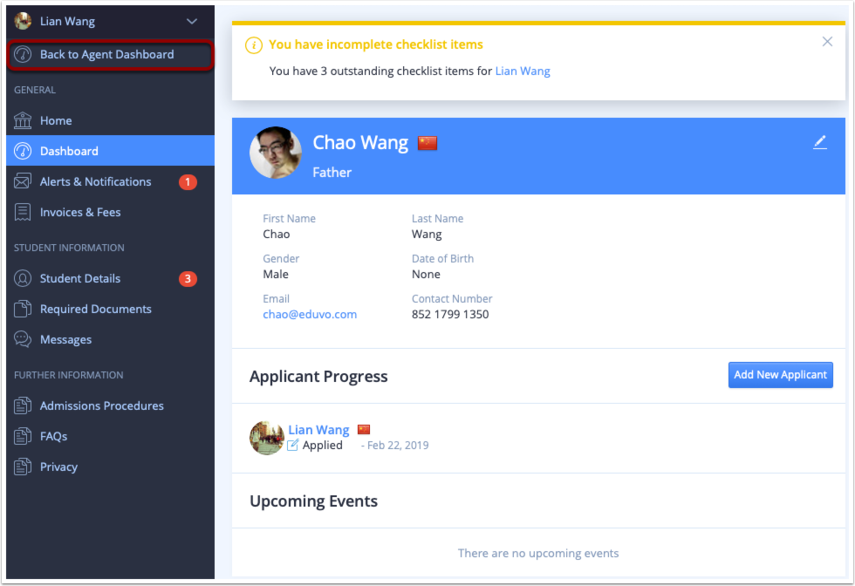
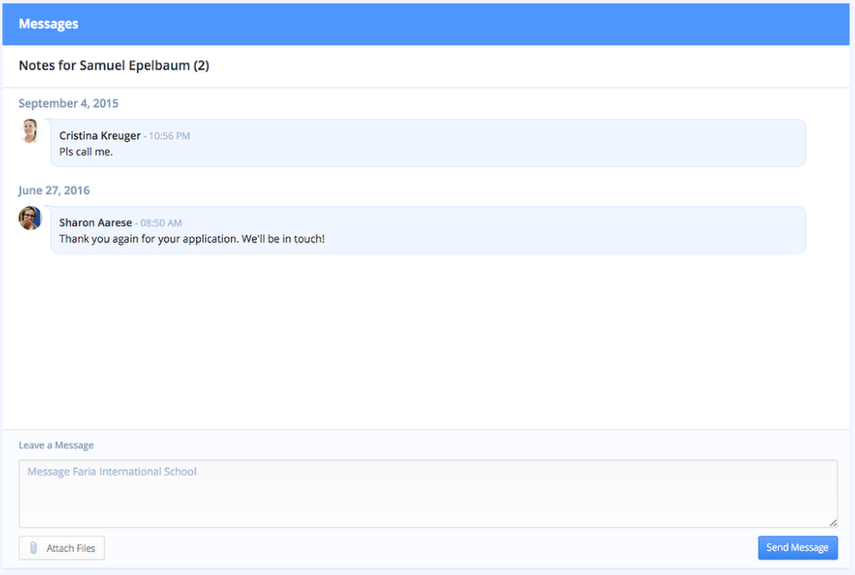
Messages
Click the messages number next to the applicant name to view or send messages to the school admissions team, relating to that applicant
The Messages section allows you to communicate with the admissions staff throughout the admissions process. All messages will appear in this section with the most recent correspondence shown towards the bottom.
Families Tab
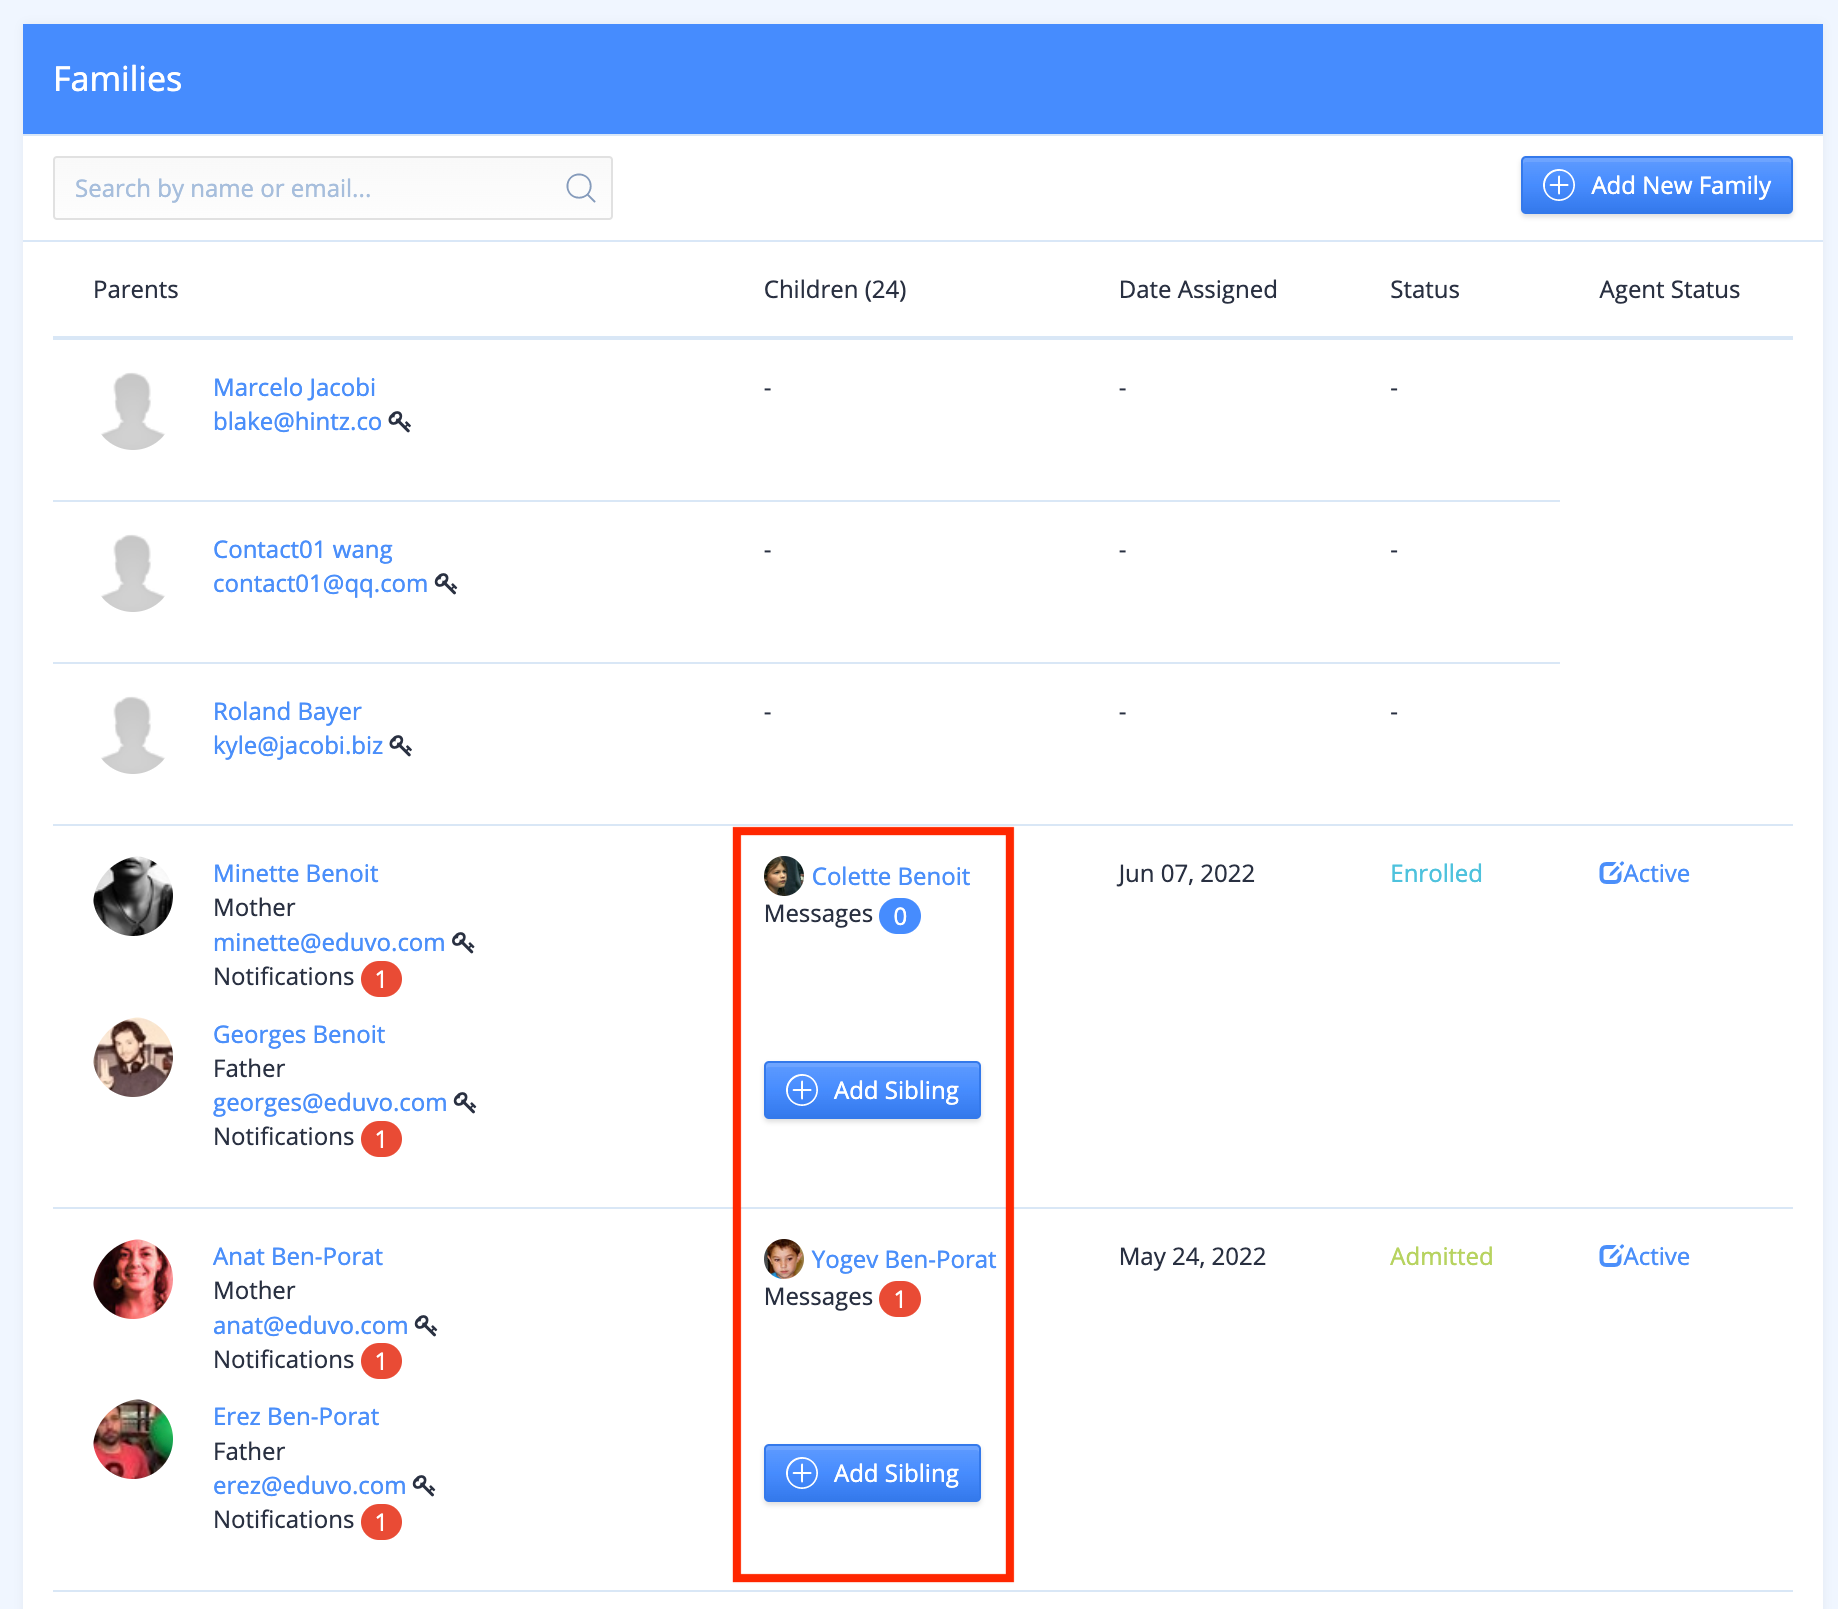
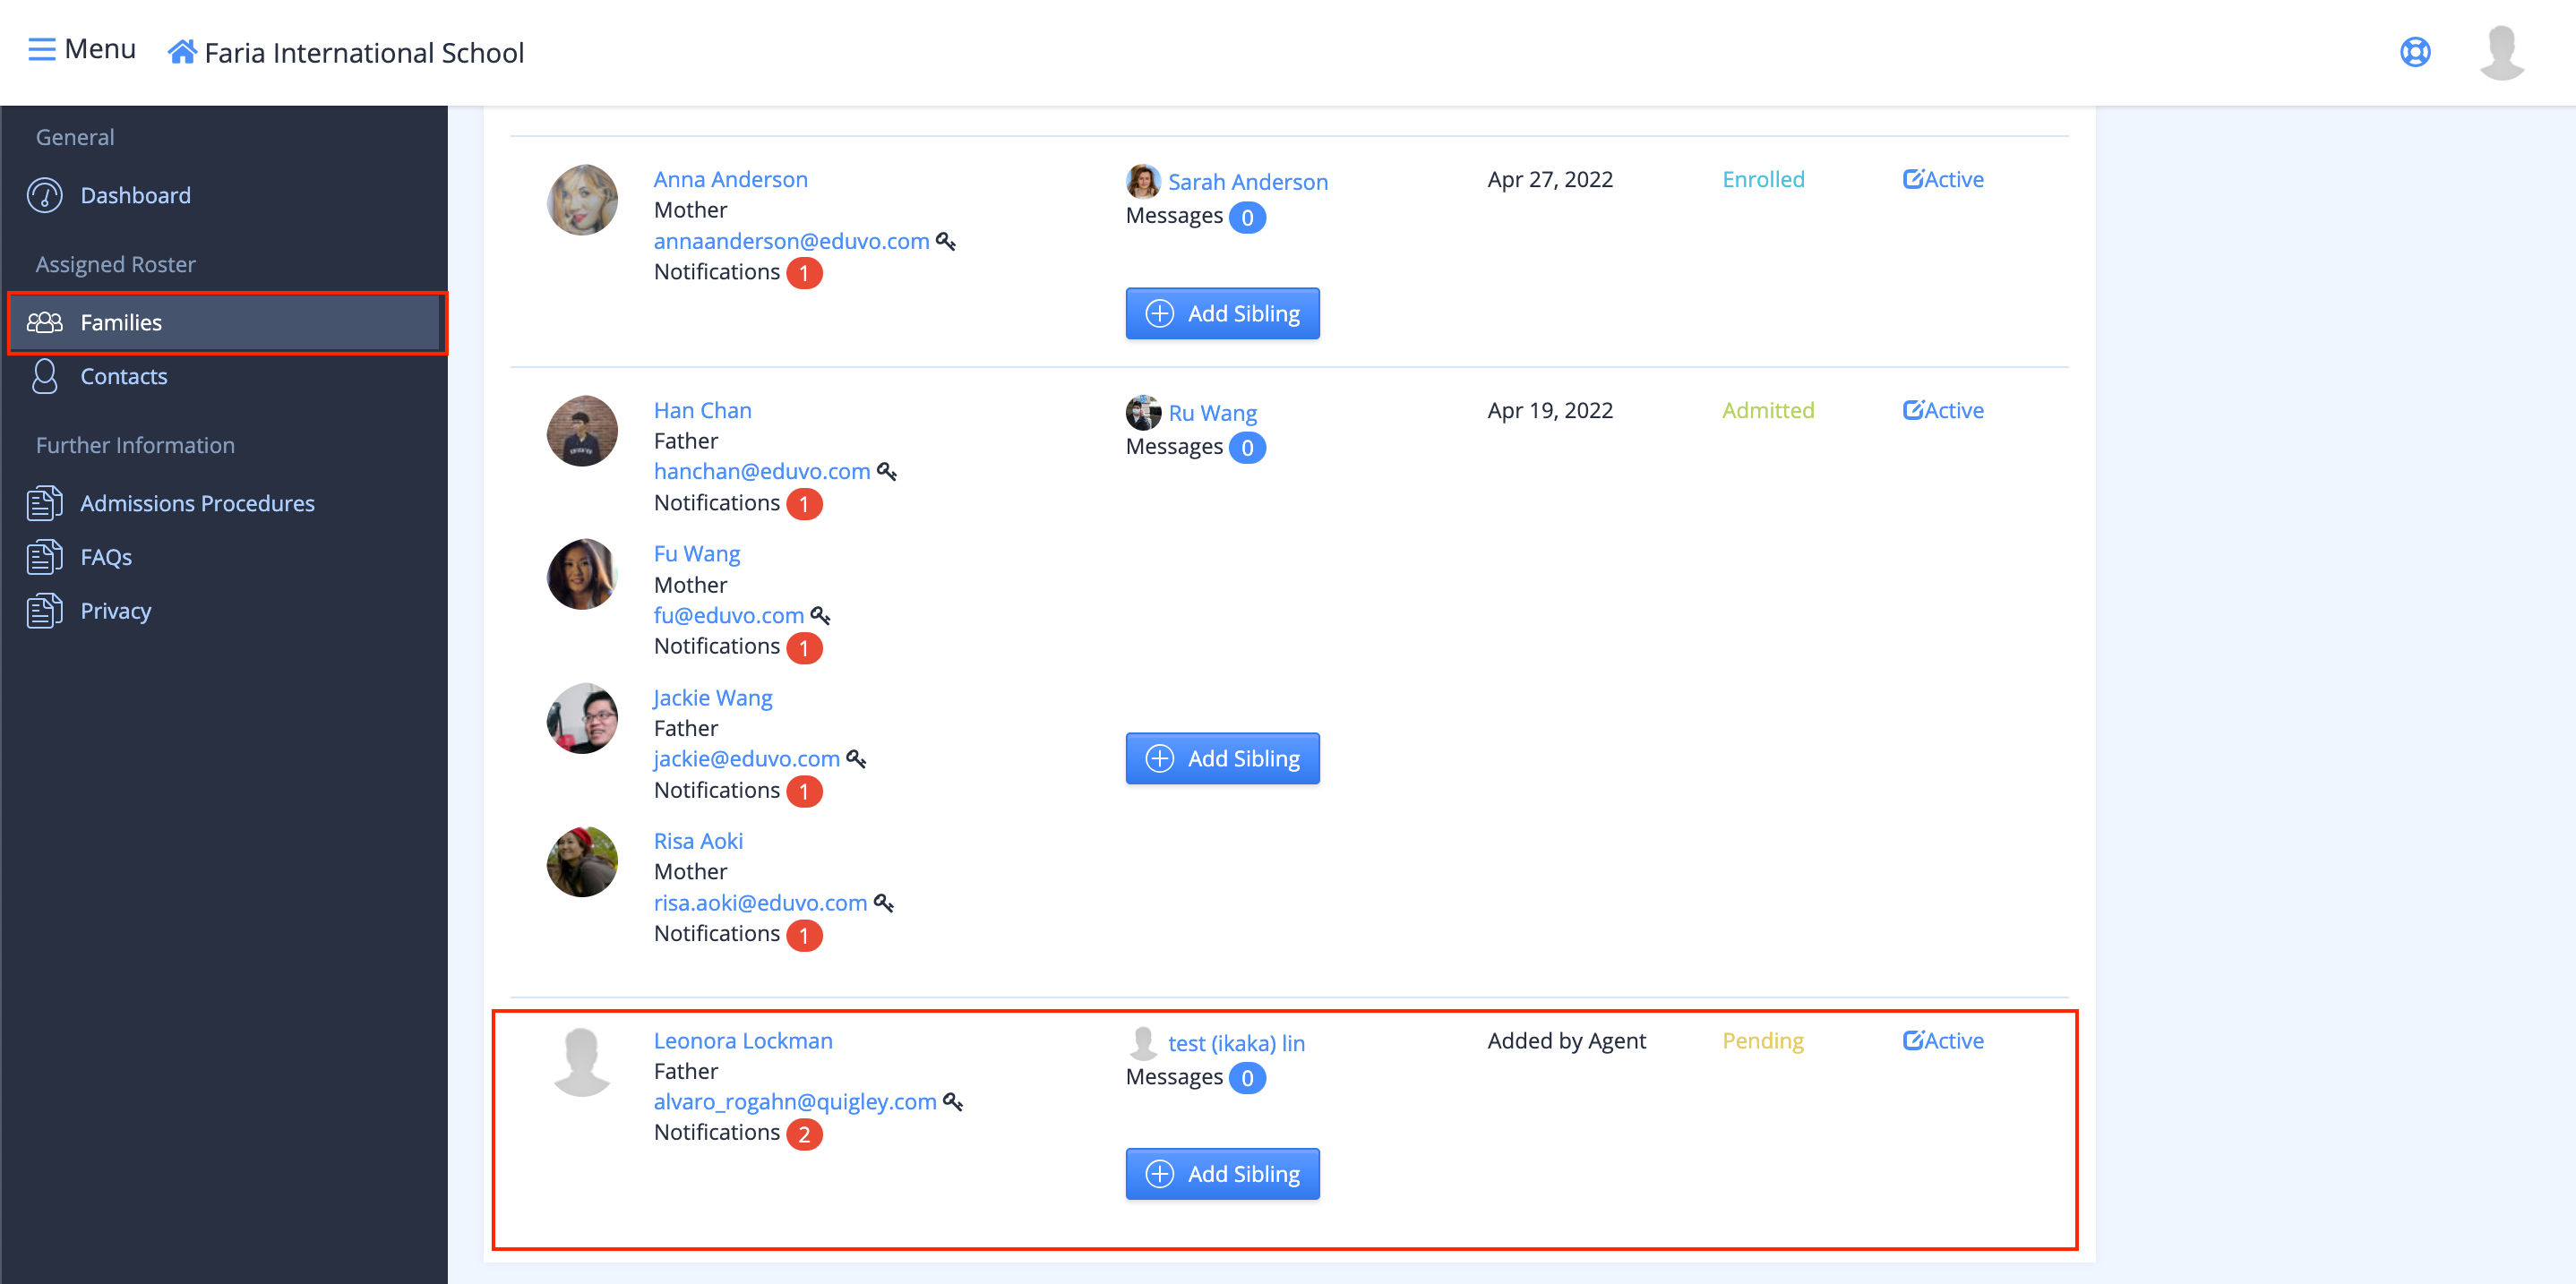
From the Families Roster, you can view the Families that have been assigned to you.
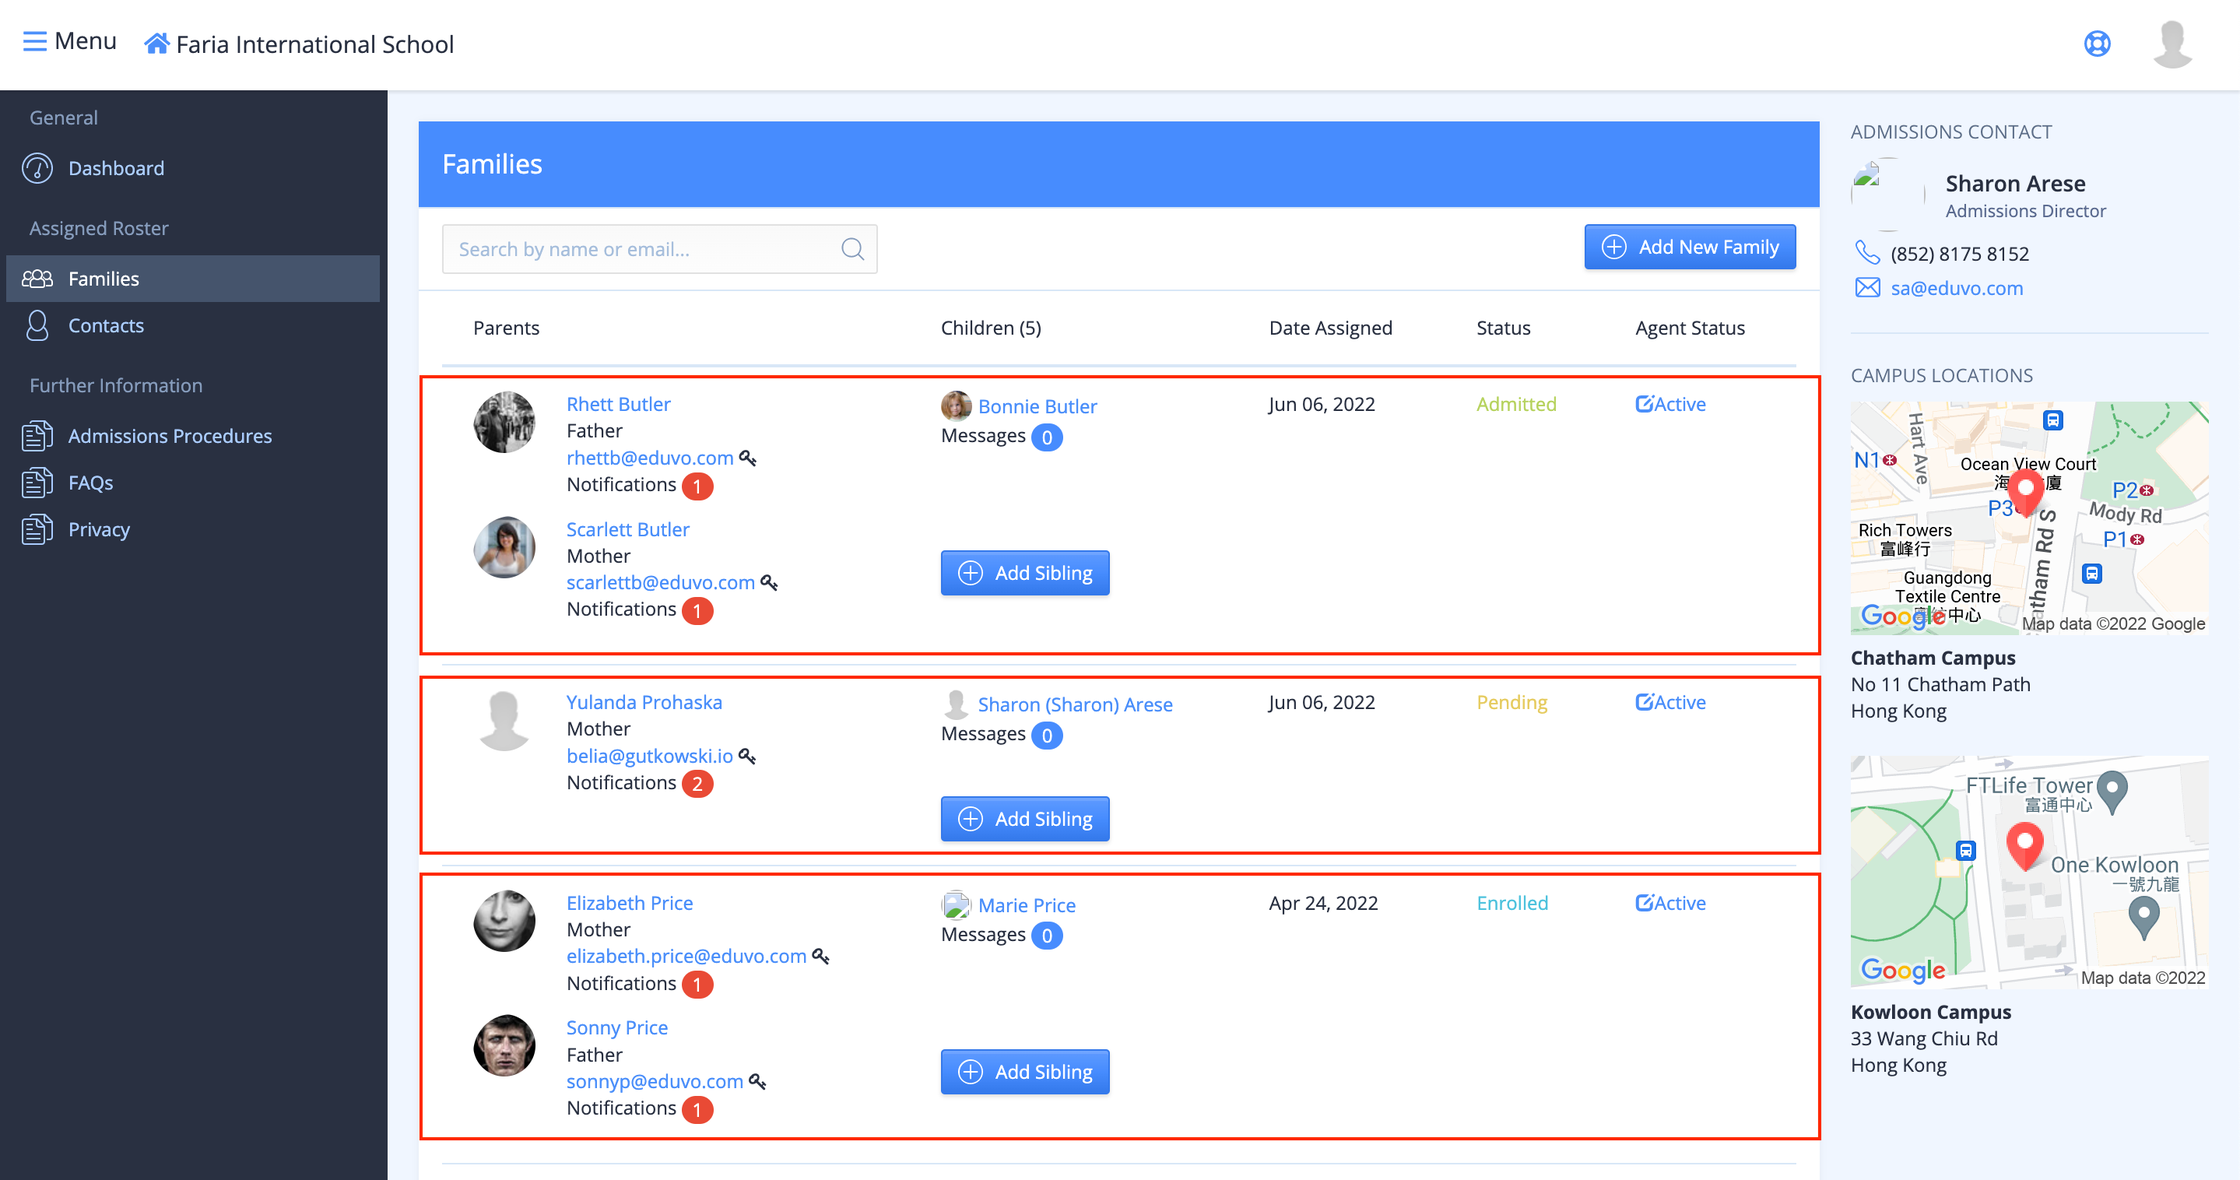
When the students name is selected from the Families Roster, it will go to the student info page which exists in the system.
Agent Dashboard :CRM Contact Roster and Contact page
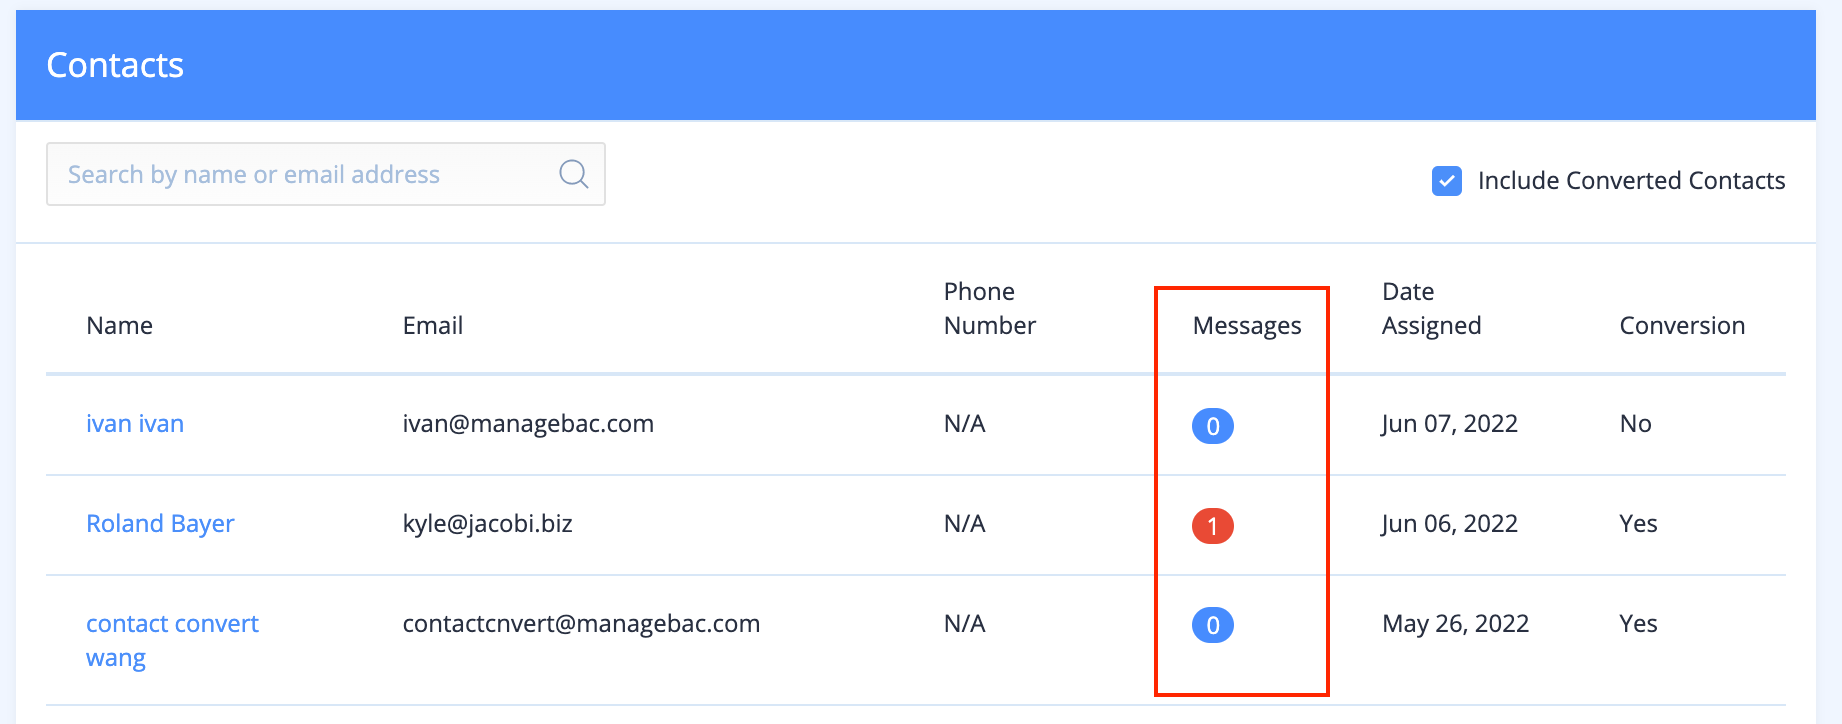
You can view your assigned contacts in the contacts roster.
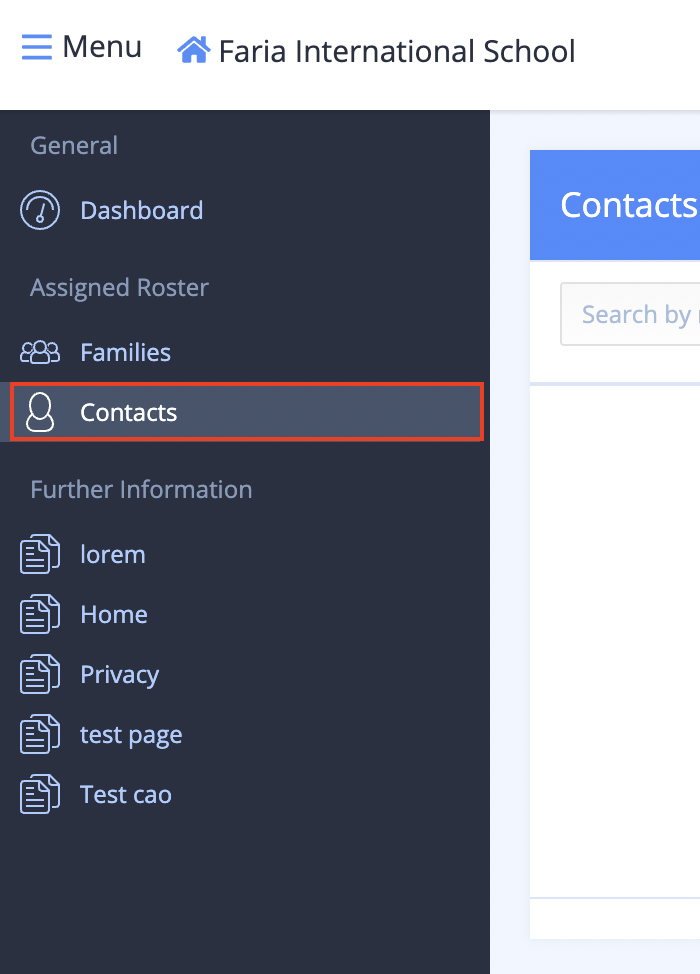
After clicking a Contact Name, it will go into the Contact account page.
There is an option to 'Include Converted Contacts:
When this is enabled it will allow you to hide converted Contacts on the roster (Contacts with a value of “yes” in the “conversion” field)

The 'Messages' displays an alert when the Admin leaves a new message in your assigned contact account.

Convert Contact to Family:
You can submit an application for a Contact who has not been converted into a parent at any time and convert it into a parent.

Once the parent is converted, the 'convert contact to Family' button will disappear and the "Family Information" tab will automatically show the family information that was provided.

The new information will then show on the families roster.

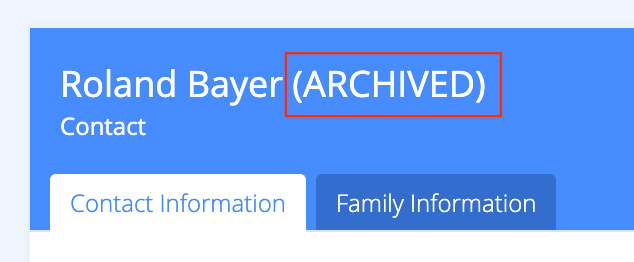
'ARCHIVED' accounts.
When a Contact exists with the same email address as a Parent's account, the Contact will automatically transition to Archived status with 'ARCHIVED' in the contact name.
This also shows that the Contact has been converted to a Parent already.
It is possible for admin users to manually archive a contact if the contact has already been converted to a parent.
To do this, navigate to the contact and select 'archive contact'

Being Notified of New Messages:
You can see new messages from parents/admin 3 different ways:
1) Directly on the roster
The messages notification on the Students' roster

-
Email notifications

