Via the Applicant Profile
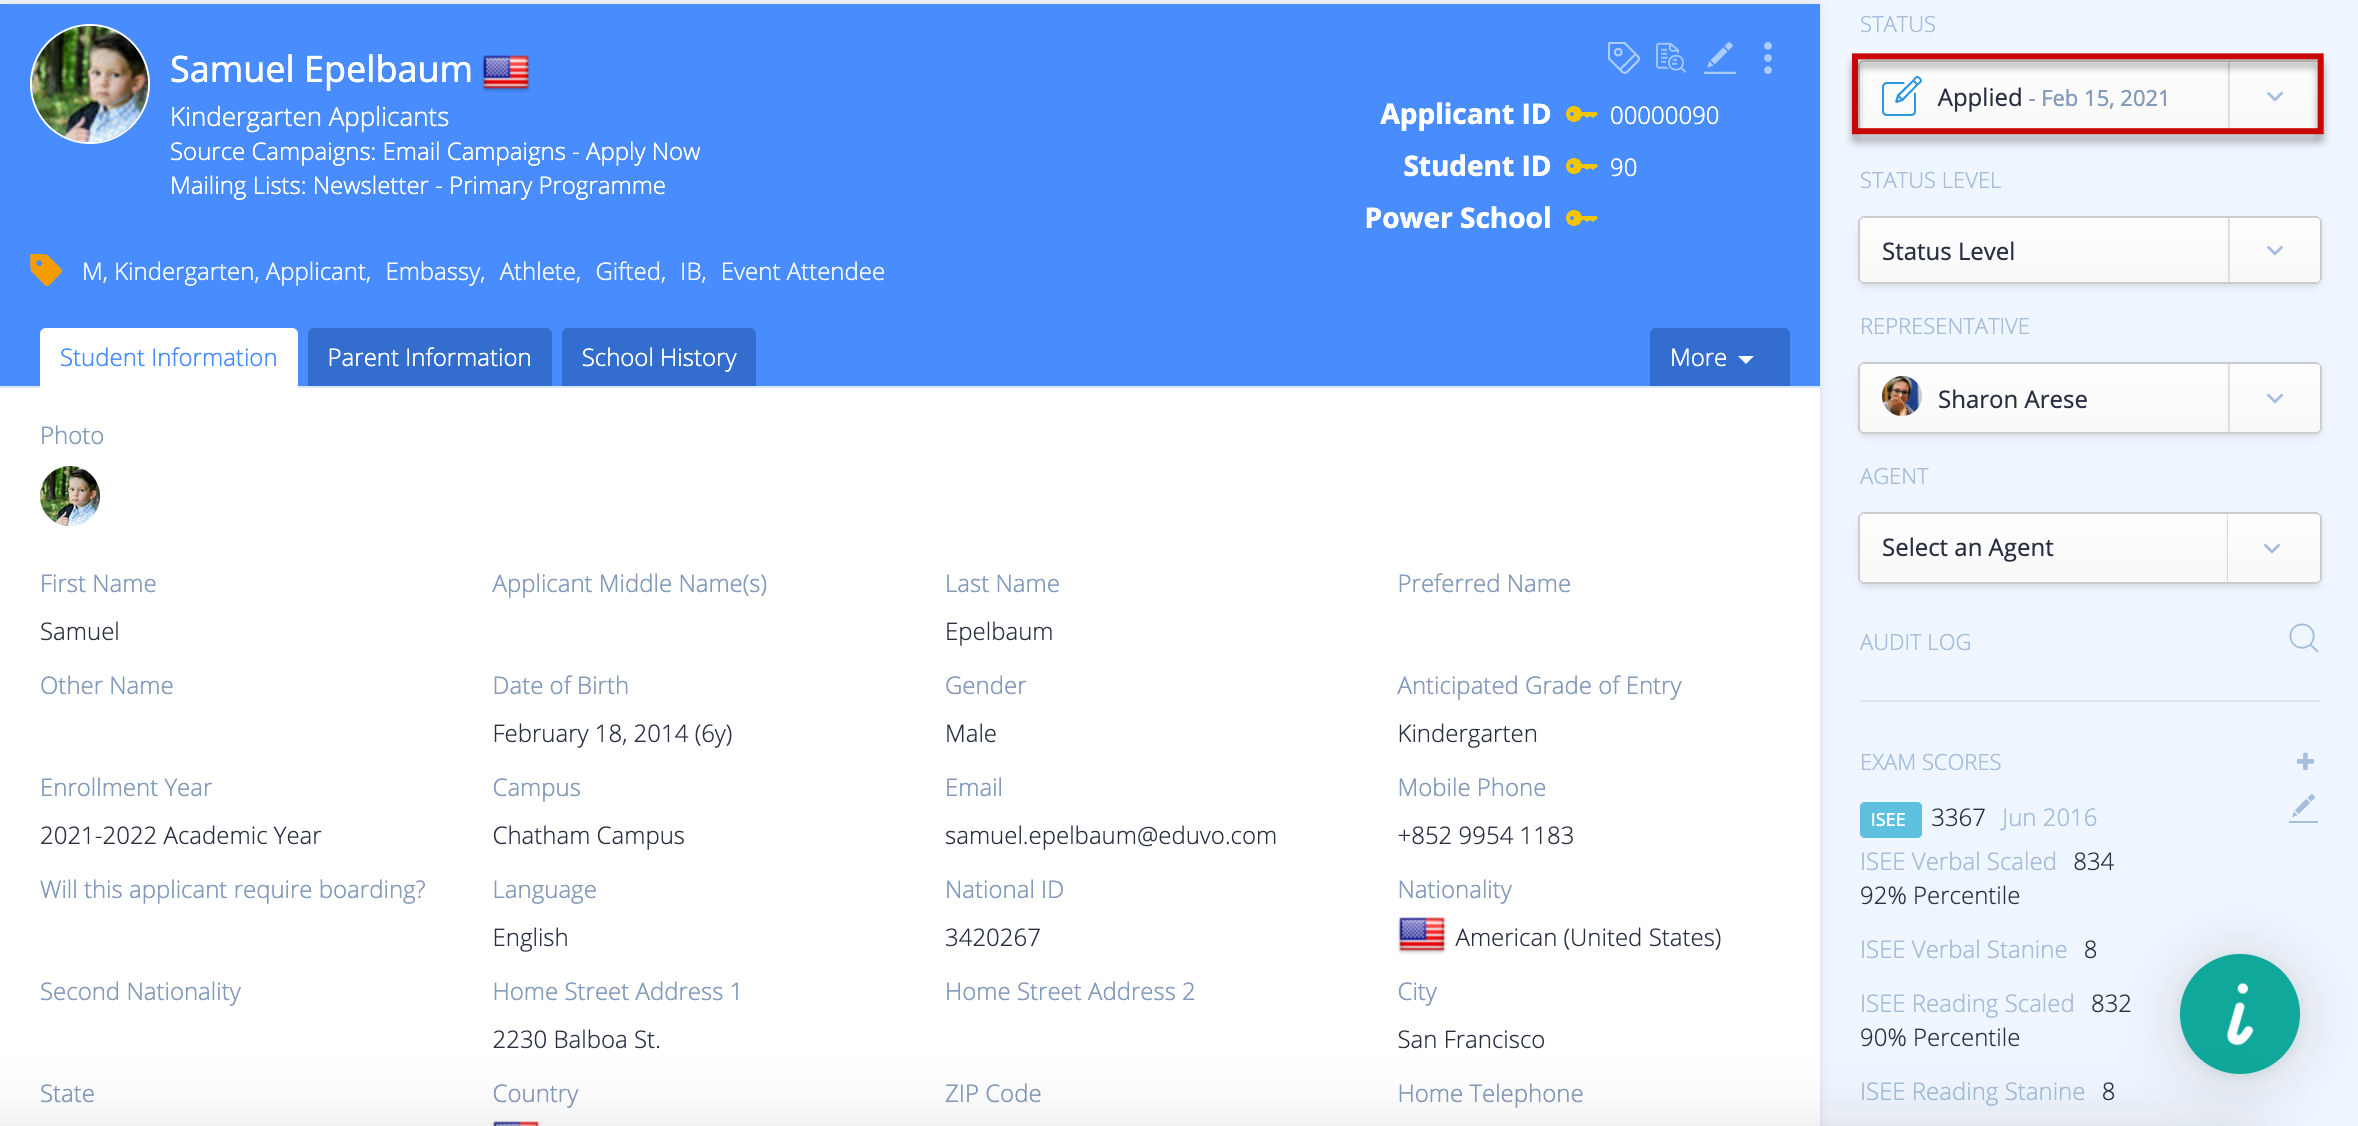
You can easily update the Applicant status (e.g. Applied to Admitted) by changing the levels from the dropdown menu. You can only choose from valid statuses that come next in the status sequence. For example, if you would like to change an applicant who is Applied to Enrolled, you must first change them from Applied to Admitted, then Admitted to Enrolled. To see a list of all valid sequences, click here.

Only certain Administrators have the ability to admit and enrol students. This permission level can be assigned via the Settings > Staff Directory tab. The administrator requires the permission to Create, Edit and Delete applicants, in order to be able to change the status. Click here for further information on Creating your Staff Directory and Managing Users.

Next select an effective date for the status by updating Effective On. The Effective On date determines when the status change will become effective in your analytics. The Effective On date defaults to today's date, or the date of the current status, if that is in the future.
Sending Your Status Change Notifications
If you have automatic status notifications enabled for the new status, the box to send this notification will be ticked by default. You can untick the box if you do not wish to send the automatic status notification. You can select a date under Notification On for the notification to be sent. If you choose a future notification date, then the Status History on the parent account will not be updated until that date.

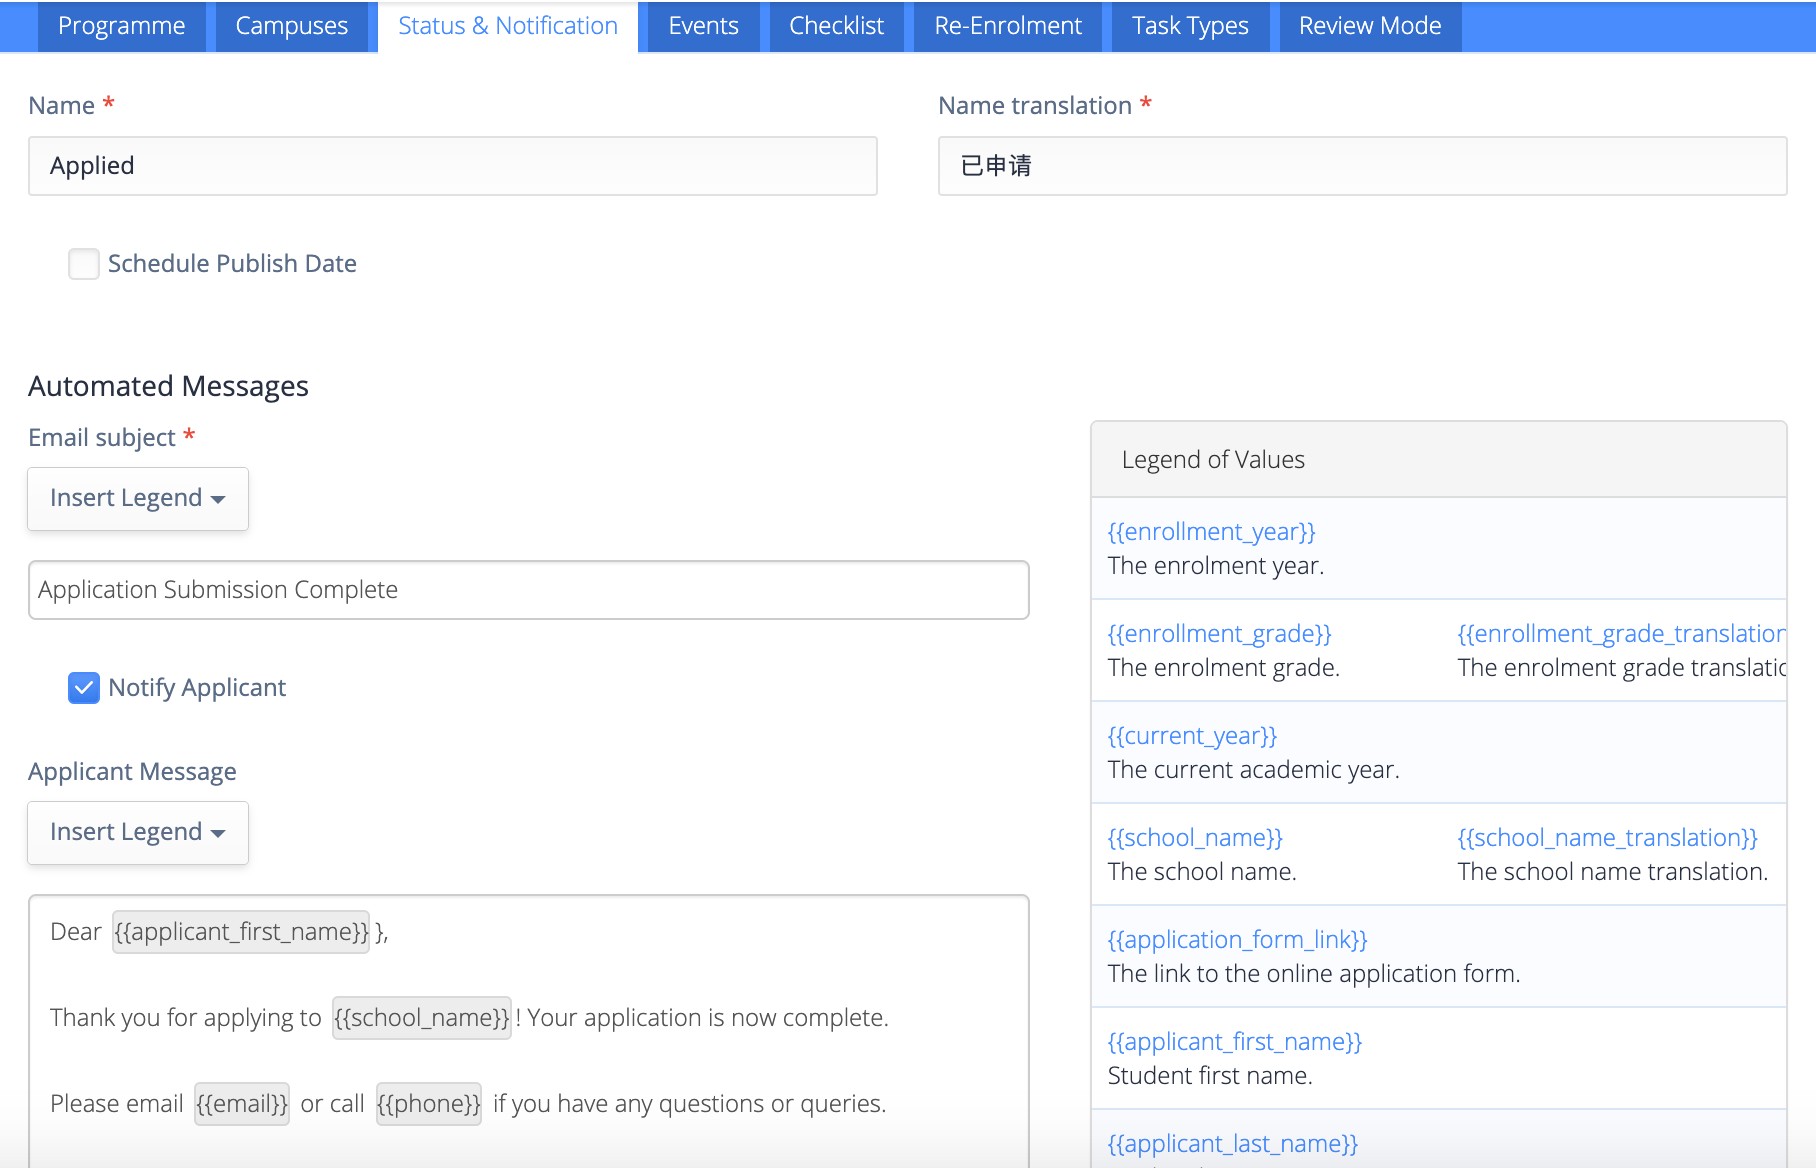
You can set the automated email via Settings > Admissions > Status & Notification and click on the status to edit the status message.
If your admissions deadlines are fixed, you can choose to send admissions notifications in bulk after your deadline date has passed. Please note that enabling the 'Schedule Publish Date' option will notify all existing students that have that status.

Undoing a Status Change
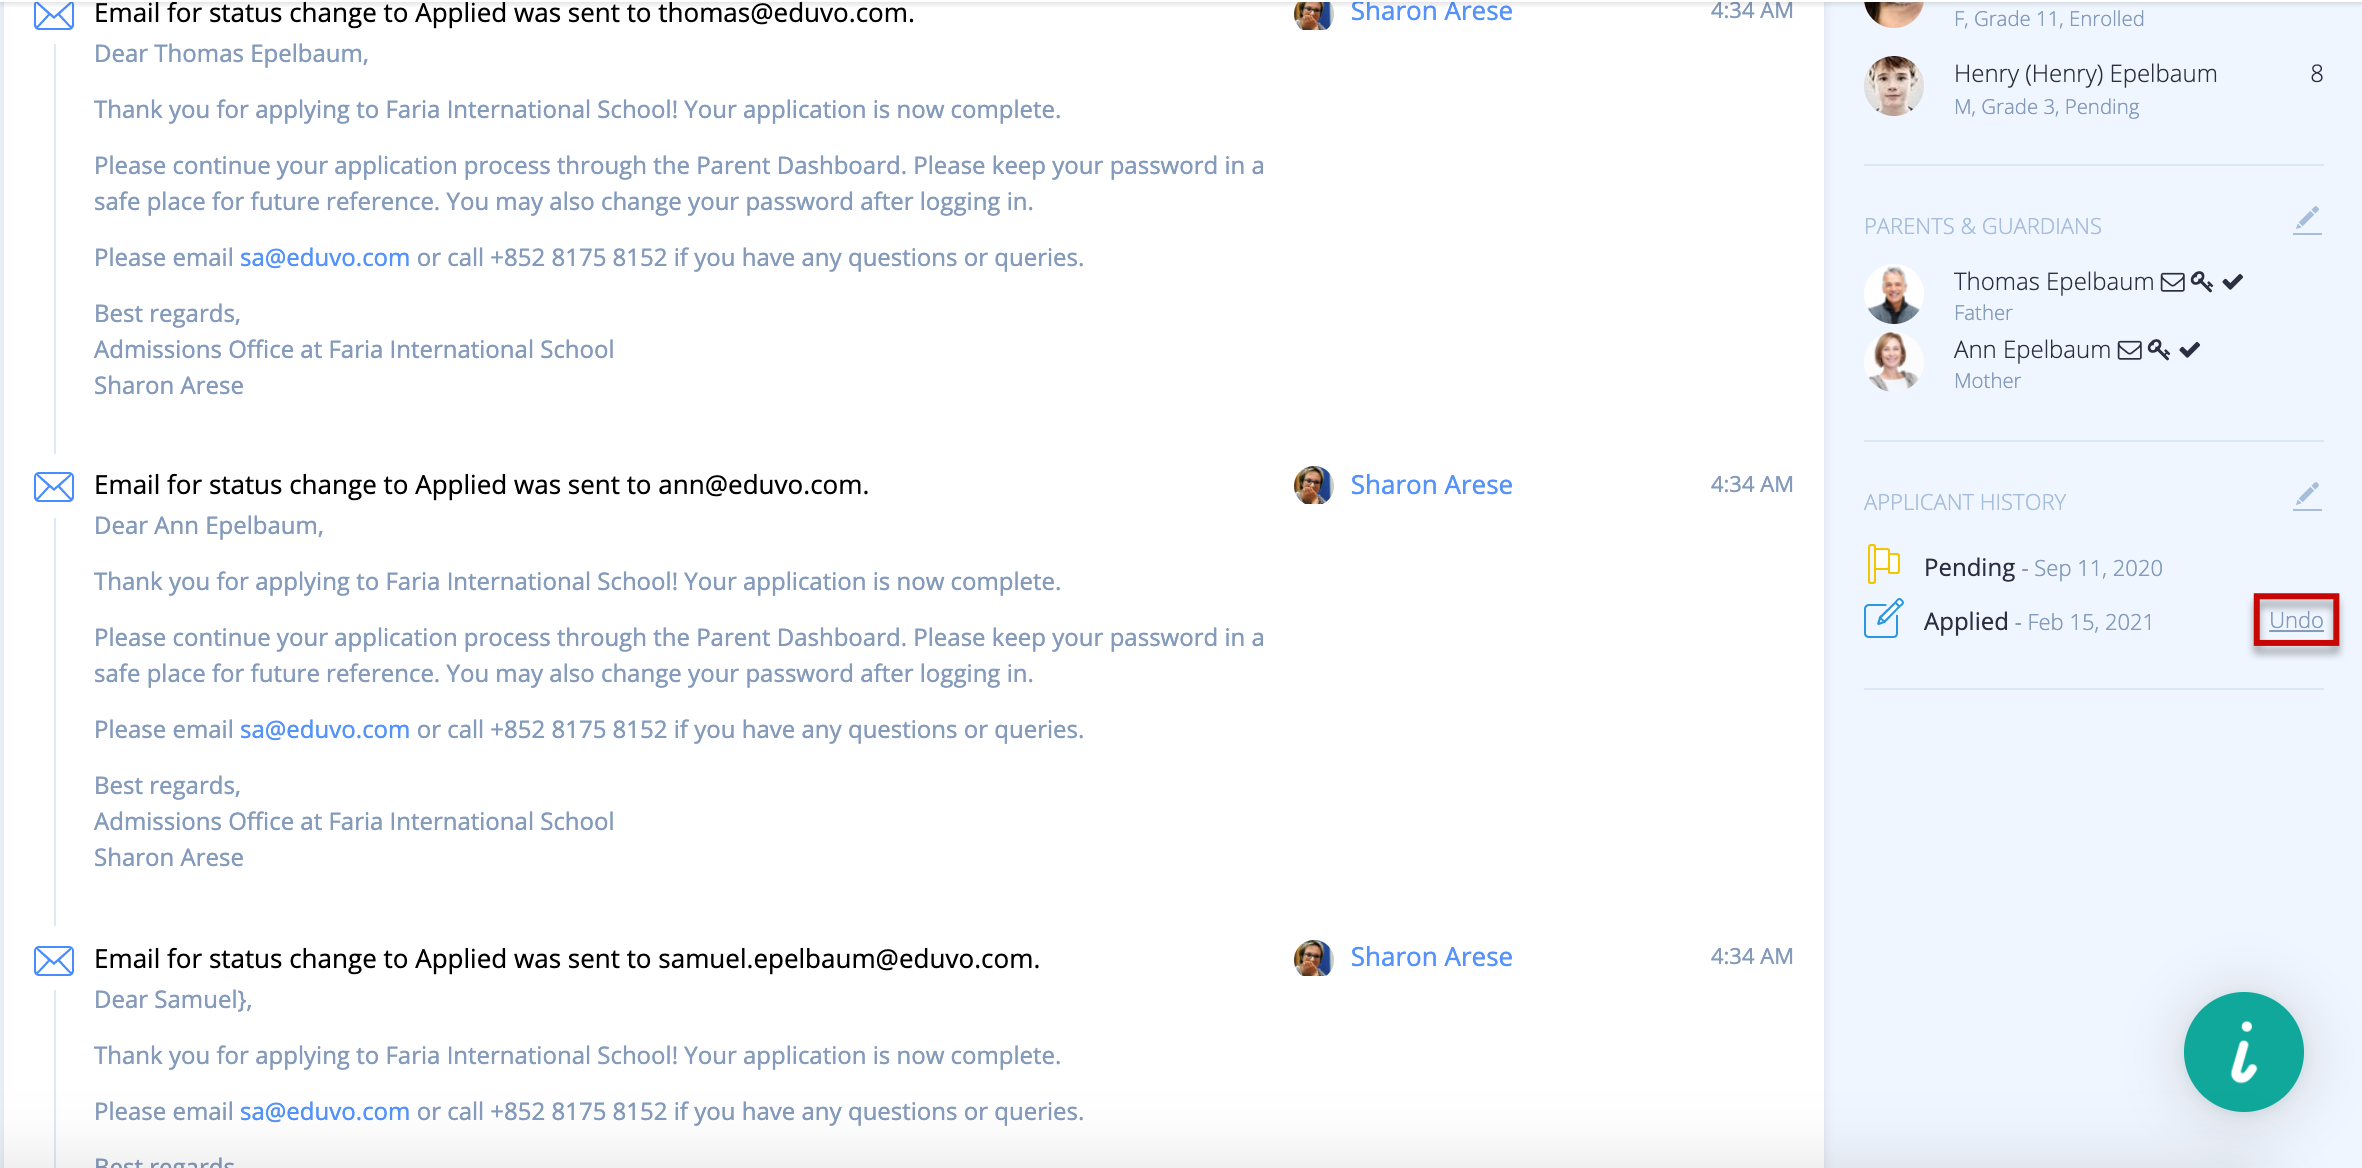
If a status is changed in error, or if a decision has been changed, it is possible to undo the most recent status change, to roll the status of the applicant back to the previous status. Scroll down to the Applicant History, and click Undo on the right panel of the applicant profile. In the example below, this would put the student back to Pending, from Applied.
